
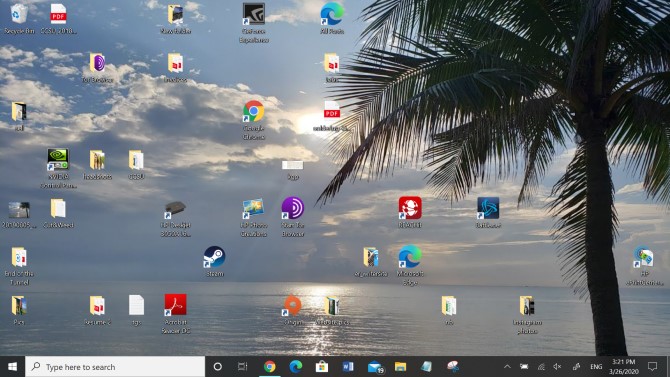
As you most likely know, the Windows work area can be an extreme brute to tame. Possibly you need a sorted out and clean work area, yet regardless of how often you cleanse it, and regardless of how diligently you attempt to maintain it in control, it by one way or another becomes untidy once more.
A spotless work area not just makes things simpler to discover, subsequently decreasing wastefulness, yet is additionally satisfying to take a gander at and doesn’t cause as much psychological pressure.
Continue perusing to discover how to tidy up your Windows 10 work area for the last time.
The most effective method to Clean Up Your Desktop
The real demonstration of cleaning a work area is simple—you should simply choose all symbols and press Delete. The critical step is keeping it clean. To see how to forestall work area mess, we have to comprehend why our work areas will in general gather mess in any case.
We basically need quick access to our most-utilized applications, records, and envelopes. What’s more, what’s the most ideal approach to do that? Alternate ways! Tragically, it’s too simple to even think about creating an alternate route, thud it onto the work area, and consider it daily—do that a couple of times and blast, mess. All things considered, is there an area that is more advantageously available than the work area? I can’t consider one.
o try to discover elective techniques for getting to our most-utilized applications, records, and organizers.
A jumbled work area is only a side effect of a more profound issue: depending on alternate routes. In the event that you can quit it, at that point you won’t need alternate ways any longer, and unexpectedly your work area won’t ever be jumbled again.
This is the thing that you’ll learn before the finish of this article.
Cheer up in realizing that achievement is conceivable. My own work area has been totally unfilled for over four years because of the accompanying tips and deceives.
Furthermore, notwithstanding how you may feel about Windows 10, this is one region where it exceeds expectations. Keeping a spotless work area has never been simpler.
Move App Shortcuts to the Start Menu
The upgraded Start Menu is impeccable as a dumping ground for application alternate routes. First presented in Quite a while 8 and incredibly refined in Windows 10, the Start Menu ought to be your technique for decision for propelling applications.
It’s open from anyplace—you should simply hit the Windows key—and it’s huge enough to serenely stick many applications.
To stick an application to the Start Menu:
Right-click on the application alternate route on your work area.
Select Pin to Start.
Once stuck, applications can be resized (progressively significant applications could be bigger, for instance) and you can stamp them on the off chance that they ought to be propelled with Administrator authorizations.
Sort out the Start Menu Using Groups
Be careful that you don’t simply move the issue of messiness from your work area to your Start Menu
For most extreme efficiency and mental stability, you should additionally compose your Start Menu tiles into gatherings. In addition to the fact that this keeps everything clean, except it makes it simpler for you to discover applications when you need them.
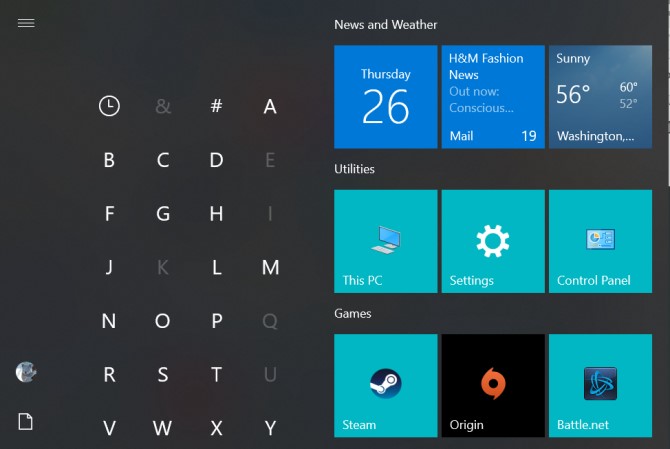
As you drag application tiles around, you’ll notice that they “piece” into independent gatherings. In the event that you float your mouse over each gathering, you’ll see a field called Name Group that you can tap on to rename that gathering anyway you need.
You’ll additionally observe a marker with two even lines—drag this to modify your application bunches as indicated by your necessities.
Move App Shortcuts to the Taskbar
In the event that you feel like the Start Menu requires one such a large number of snaps, you can decide to stick applications legitimately to the Taskbar. I just suggest this for applications you use consistently—the sorts of applications that are consistently open, for example, internet browsers, music players, word processors, and so on.
To stick an application to the Taskbar:
1. Right-click on the application alternate way on your work area.
2. Select Pin to Taskbar.
Once stuck, applications can be hauled around so you can modify them as indicated by your necessities. Be careful about sticking such a large number of applications here—Taskbar mess can be more regrettable than work area mess.
On the off chance that you include such a large number of applications, the Taskbar will part into various lines that you’ll need to look between by tapping on Up and Down bolts. I find that this slaughters efficiency, so maintain a strategic distance from it.
Alter the Taskbar for More Space
On the off chance that you need to boost what number of applications you can include without overflowing into various lines, you can tweak your Taskbar settings. To get to the settings, right-click the Taskbar and select Taskbar Settings.
Utilize little Taskbar catches: This does precisely what it seems like, and it functions admirably. The main two drawbacks are that the Taskbar clock will no longer show the date and the Taskbar symbols can be more enthusiastically to see on higher goal screens (for example 1920 x 1080 or more noteworthy).
Taskbar area on screen: Most clients keep the Taskbar along the base edge of the screen since that is the default setting on Windows, however a vertical taskbar can permit you to find applications quicker.
Consolidate Taskbar catches: If you favor a level Taskbar, at that point ensure you set this to Always, shroud names. Or on the other hand in any event, set it to When Taskbar is full. Both of these will amplify the amount you can fit before spilling into another line.
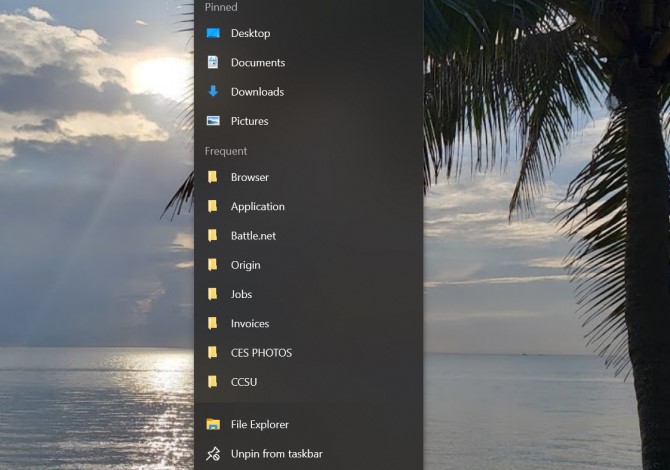
Move Folder Shortcuts to Quick Access
The Quick Access include is one of the better refinements in Windows 10’s File Explorer (some time ago called Windows Explorer). Though the Start Menu and Taskbar are extraordinary for solidifying application alternate routes, Quick Access is the place you should put all envelope easy routes.
On the off chance that you’ve never known about it, don’t stress. Open up File Explorer (utilizing console easy route Windows + E) and look in the left sidebar to see an area called Quick Access.
Consider it like organizer bookmarks: you can stick envelopes here and in a flash access them from anyplace in File Explorer.
To stick an organizer to Quick Access:
1.Explore to the organizer you need to stick.
2.Right-click on the organizer.
3.Select Pin to Quick Access.
Pin File Explorer to the Taskbar
We aren’t done at this point. Albeit a few people choose File Explorer choices, File Explorer really has various valuable lesser-known highlights that can be helpful.
For instance, you can get to your Quick Access organizers directly from the Taskbar by sticking File Explorer simply like you would some other application. Dispatch any organizer, right-click on File Explorer in the Taskbar, and select Pin to Taskbar.
Once stuck, perfectly click on the File Explorer symbol and you’ll see a rundown of all Quick Access envelopes. This is the favored method to “speedy hop” to organizers you use again and again, and it’s in reality quicker than keeping envelope easy routes on the work area.
Sidestep the Need for Shortcuts With a Launcher
On the off chance that you truly need to tidy up mess all over your framework, at that point you might need to forego the above other options and utilize an on-request launcher. You have two alternatives for this.
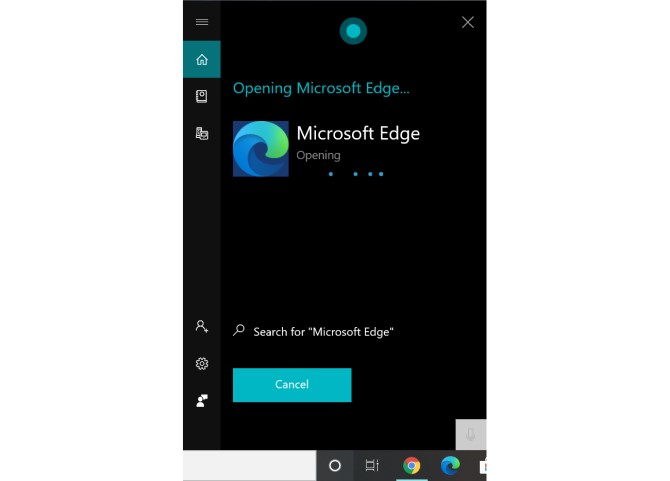
The principal alternative is to utilize Talk to Cortana on the Taskbar. The improved hunt in Windows 10 methods you can open the Start Menu (with the Windows key), begin composing for an application or document and promptly open it with the Enter key.
While you needn’t bother with Cortana for any of this, a few people see the voice control perspective as considerably more advantageous.
To begin conversing with Cortana, click the white circle (the Talk to Cortana button) in the Taskbar. Cortana in Windows 10 has a great deal to offer, so don’t exclude it.
he subsequent choice is to introduce Wox. Wox is an outsider application that recreates the Spotlight highlight from macOS. Whenever, you can hit Alt + Space to open Wox, at that point type any application, document, or organizer to dispatch it in a flash. It can likewise go about as a web search apparatus.
With both of these choices, you won’t need to stick applications anyplace once more. Also, with Wox, you won’t need to stick organizers any longer. Everything is only one question away.
Final Resort: Desktop Shortcuts the Smart Way
Suppose you don’t care for any of the above recommendations. You truly like utilizing work area alternate routes and you need to continue utilizing them—you simply need to keep them sorted out. All things considered, you can generally fall back on utilizing Fences.
With Fences, you can make areas on your work area for sorting out your alternate routes, with each segment called a fence.
Wall can be limited, which implies you open them on request, dispatch the alternate route you need, at that point close them back up. Alternate ways can consequently sort into wall as indicated by rules, or you can set them up physically.
The drawback? It isn’t free. There’s a 30-day free preliminary, yet it’ll cost $10 after that closes.
Accomplishing a Clean Desktop
Since your work area is clean, you most likely feel like a weight has been lifted off of your shoulders. You can at long last access your applications and documents without burrowing through a muddled work area.
We additionally suggest going above and beyond and ensuring all your PC records are sorted out.