

Schedule Emails Email scheduling is a beneficial tool for pre-writing emails you know you’ll want to send at a selected time. By scheduling emails, you could be sure the best range of recipients will open the e-mail by only sending at top times. It’s in particular useful if you want to send emails to a massive variety of clients however need to area the messages out to keep away from pummeling a server. Emails can be scheduled for an arbitrary time and date in the future. When you schedule emails in Gmail, they will take a seat in a special section of your outbox till they may be ready to be despatched.
Schedule Emails This feature works within the Gmail internet app, however scheduled emails may be set with a number of e-mail customers. Spark, as an example, can time table emails on any provider because the app manages the sending time, keeping lower back the e-mail until its time to fire. Other clients may also or won’t engage with Gmail’s default email scheduling provider precisely. Gmail’s net service relies absolutely on Google’s internal implementation of message sending, so your laptop doesn’t need to be grew to become on or related to the Internet on the scheduled time to ship the message.
Schedule Emails in Gmail
Emails may be scheduled via the internet mail interface at Gmail.Com. This will best paintings for Google-administered e-mail addresses like @gmail.Com. It’s no longer currently available for G Suite customers, also called Google Apps customers.
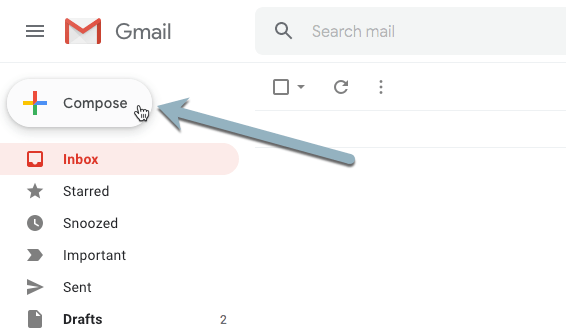
- Once you’re logged into your Gmail account, click the “Compose” button to begin writing a new electronic mail.
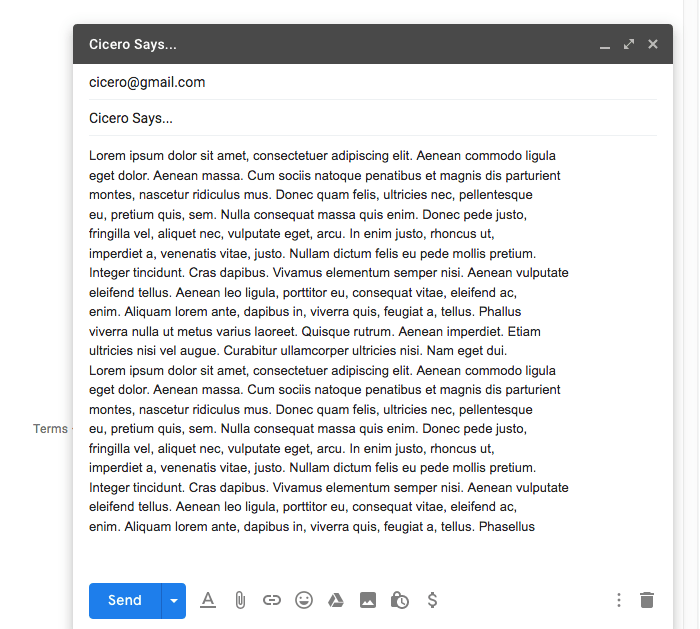
2. Schedule Emails Compose your electronic mail with the difficulty, frame, and recipients finished. Include any snap shots, attachments, or other functions. The electronic mail could be closed as soon as its scheduled, and even as you can reopen the e-mail and edit it, you’ll have higher luck in case you get the entirety nicely organized first.
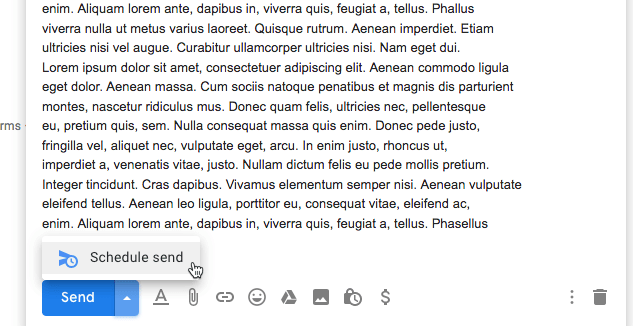
3. Next to the “Send” button click on the drop-down arrow, and pick “Scheduled Send.”
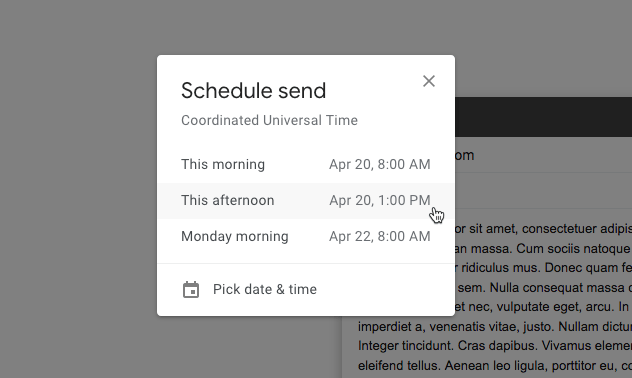
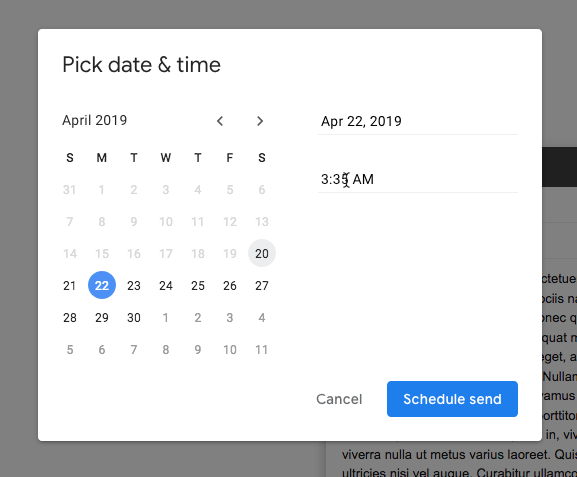
4. Select a time from the popup window, or use “Pick date & time” to set an genuine time to send the e-mail.
5. Once the time is about, the email might be saved till despatched. The affirmation notification at the lowest of the window will allow you to view the e-mail and cancel the scheduled ship.

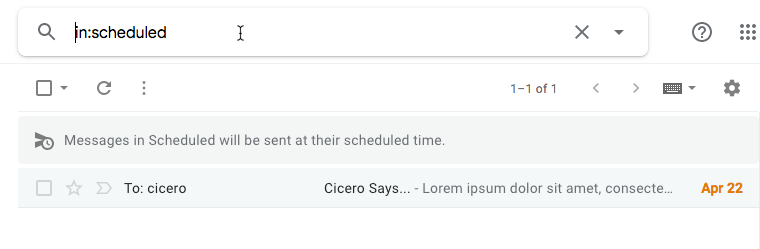
You can also view the email by typing “in:scheduled” in the Gmail search bar.
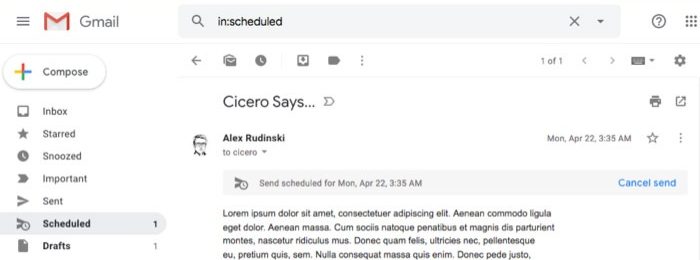
If you need to cancel the e-mail, navigate to the scheduled message, then click the “Cancel Send” hyperlink close to the top of the message. This will return the email to drafts and do away with it from the scheduled listing.
Conclusion
Gmail’s new scheduled e-mail function can ship emails at a particular date and time. It is based on a integrated capability in Gmail.Com and does no longer require you to be connected to the Internet or logged into your laptop when the email is sent.