

Install and Configure Redmine,Redmine is one of the maximum famous open source task control and difficulty monitoring software program gear. It is cross-platform and move-database and constructed on pinnacle of the Ruby on Rails framework.
Redmine consists of support for multiple tasks, wikis, trouble tracking machine, forums, calendars, electronic mail notifications, and plenty more.
In this academic we will cowl the stairs had to install and configure the latest version of Redmine on an CentOS 7 server the usage of MariaDB as a database lower back-quit and Passenger + Nginx as a Ruby application server.
Install and Configure Redmine,Prerequisites
Make certain which you have met the subsequent conditions earlier than persevering with with this tutorial:
- Domain name pointing in your server public IP. In this tutorial we will use instance.Com.
- Logged in as a user with sudo privileges.
Install the packages required for building Redmine and Ruby from source:
sudo yum install curl gpg gcc gcc-c++ make patch autoconf automake bison libffi-devel libtool
sudo yum install readline-devel sqlite-devel zlib-devel openssl-develh readline  glibc-headers glibc-devel
sudo yum install mariadb-devel zlib libyaml-devel bzip2 iconv-devel ImageMagick ImageMagick-devel
Install and Configure Redmine,Creating MySQL database
Redmine helps MySQL/MariaDB, Microsoft SQL Server, SQLite 3 and PostgreSQL. In this educational we’ll use MariaDB as a database returned-end.
If you don’t have MariaDB or MySQL installed on your CentOS server you may installation it by way of manner of following these commands.
Login to the MySQL shell with the aid of typing the subsequent command:
sudo mysqlFrom in the MySQL shell, run the subsequent SQL declaration to create a brand new database:
mysql> CREATE DATABASE redmine CHARACTER SET utf8;
Next, create a MySQL user account and furnish get admission to to the database:
mysql> GRANT ALL ON redmine.* TO 'redmine'@'localhost' IDENTIFIED BY 'change-with-strong-password';Make sure you change change-with-strong-password with a strong password.
Once entire, go out the mysql shell with the aid of typing:
mysql> EXIT;Install and Configure Redmine,Installing Passenger and Nginx
Passenger is a fast and lightweight web utility server for Ruby, Node.Js and Python that can be included with Apache and Nginx. We will set up Passenger as an Nginx module.
Install the EPEL repository and the required applications:
sudo yum install epel-release yum-utils pygpgme
sudo yum-config-manager --enable epel
Enable the Phusionpassenger repository:
sudo yum-config-manager --add-repo https://oss-binaries.phusionpassenger.com/yum/definitions/el-passenger.repoOnce the repository is enabled, update the packages list and install the two packages Nginx and Passenger with:
sudo yum install nginx passenger passenger-develInstall and Configure Redmine,Creating New System User
Create a new user and group, which will run the Redmine instance, for simplicity we will name the user redmine:
sudo useradd -m -U -r -d /opt/redmine redmineAdd the nginx patron to the trendy patron institution and trade the /select/redmine listing permissions just so the Nginx can get entry to it:
sudo usermod -a -G redmine nginx
sudo chmod 750 /opt/redmine
Install and Configure Redmine,Installing Ruby
The model of Ruby within the CentOS repositories is quite old and no longer supported by using Redmine. We’ll set up Ruby the usage of RVM.
Switch to the redmine person by means of typing:
sudo su - redmineImport the GPG keys and install RVM:
gpg --keyserver hkp://pool.sks-keyservers.net --recv-keys 409B6B1796C275462A1703113804BB82D39DC0E3 7D2BAF1CF37B13E2069D6956105BD0E739499BDB
curl -sSL https://get.rvm.io | bash -s stable
To start using RVM run:
source /opt/redmine/.rvm/scripts/rvmNow we can install Ruby by running:
rvm install 2.5
rvm --default use 2.5
If you want to install Ruby via Rbenv check this guide
Install and Configure Redmine,Installing Redmine on CentOS
At the time of writing this article, the modern day stable version of Redmine is version 4.0.1.
Before continuing with the next steps you have to take a look at the Redmine down load page to look if a more recent version is to be had.
Make sure you are running the following steps as redmine user.
1. Downloading Redmine
Download the Redmine archive with the following curl command:
curl -L http://www.redmine.org/releases/redmine-4.0.1.tar.gz -o redmine.tar.gzOnce the download is completed extract the archive:
tar -xvf redmine.tar.gz2. Configuring Redmine Database
Copy the Redmine example database configuration file:
cp /opt/redmine/redmine-4.0.1/config/database.yml.example /opt/redmine/redmine-4.0.1/config/database.ymlOpen the file with your text editor:
nano /opt/redmine/redmine-4.0.1/config/database.ymlSearch for the production section and enter the MySQL database and user information we created previously:
"/opt/redmine/redmine-4.0.1/config/database.yml"

production:
  adapter: mysql2
  database: redmine
  host: localhost
  username: redmine
  password: "change-with-strong-password"
  encoding: utf8
Once done, save the file and exit the editor.
3. Installing Ruby dependencies
Navigate to the redmine-4.0.1 directory and install bundler and other Ruby dependencies:
cd ~/redmine-4.0.1
gem install bundler --no-rdoc --no-ri
bundle install --without development test postgresql sqlite
4. Generate Keys and Migrate the Database
Run the following command to generate keys and migrate the database:
bundle exec rake generate_secret_token
RAILS_ENV=production bundle exec rake db:migrate
Configuring Nginx
Switch back to your sudo user:
exitOpen your text editor and create the following Nginx server block file:
"sudo nano /etc/nginx/conf.d/example.com.conf"" /etc/nginx/conf.d/example.com.conf "
passenger_root /usr/share/ruby/vendor_ruby/phusion_passenger/locations.ini;
passenger_ruby /opt/redmine/.rvm/gems/default/wrappers/ruby;
passenger_instance_registry_dir /var/run/passenger-instreg;
server {
listen 80;
server_name example.com www.example.com;
root /opt/redmine/redmine-4.0.1/public;
# log files
access_log /var/log/nginx/example.com.access.log;
error_log /var/log/nginx/example.com.error.log;
passenger_enabled on;
passenger_min_instances 1;
client_max_body_size 10m;
}Don’t forget to replace example.com with your Redmine domain.
Before restarting the Nginx service make a test to be sure that there are no syntax errors:
sudo nginx -tIf there are no errors the output should look like this:
output
nginx: the configuration file /etc/nginx/nginx.conf syntax is ok
nginx: configuration file /etc/nginx/nginx.conf test is successful
Finally, restart the Nginx service by typing:
sudo systemctl restart nginxConfigure Nginx with SSL
If you don’t have a relied on SSL certificate in your domain, you may generate a loose Let’s Encrypt SSL certificate via following those instructions.
Once the certificates is generated edit the domain Nginx configuration as follows:
sudo nano /etc/nginx/conf.d/example.com.conf"/etc/nginx/conf.d/example.com"
passenger_root /usr/share/ruby/vendor_ruby/phusion_passenger/locations.ini;
passenger_ruby /opt/redmine/.rvm/gems/default/wrappers/ruby;
passenger_instance_registry_dir /var/run/passenger-instreg;
# Redirect HTTP -> HTTPS
server {
listen 80;
server_name www.example.com example.com;
include snippets/letsencrypt.conf;
return 301 https://example.com$request_uri;
}
# Redirect WWW -> NON WWW
server {
listen 443 ssl http2;
server_name www.example.com;
ssl_certificate /etc/letsencrypt/live/example.com/fullchain.pem;
ssl_certificate_key /etc/letsencrypt/live/example.com/privkey.pem;
ssl_trusted_certificate /etc/letsencrypt/live/example.com/chain.pem;
include snippets/ssl.conf;
return 301 https://example.com$request_uri;
}
server {
listen 443 ssl http2;
server_name example.com;
root /opt/redmine/redmine-4.0.1/public;
# SSL parameters
ssl_certificate /etc/letsencrypt/live/example.com/fullchain.pem;
ssl_certificate_key /etc/letsencrypt/live/example.com/privkey.pem;
ssl_trusted_certificate /etc/letsencrypt/live/example.com/chain.pem;
include snippets/ssl.conf;
include snippets/letsencrypt.conf;
# log files
access_log /var/log/nginx/example.com.access.log;
error_log /var/log/nginx/example.com.error.log;
passenger_enabled on;
passenger_min_instances 1;
client_max_body_size 10m;
}Don’t forget to replace example.com with your Redmine domain and set the correct path to the SSL certificate files.
Accessing Redmine
Open your browser, kind your area and assuming the installation is a success, a display much like the subsequent will appear:
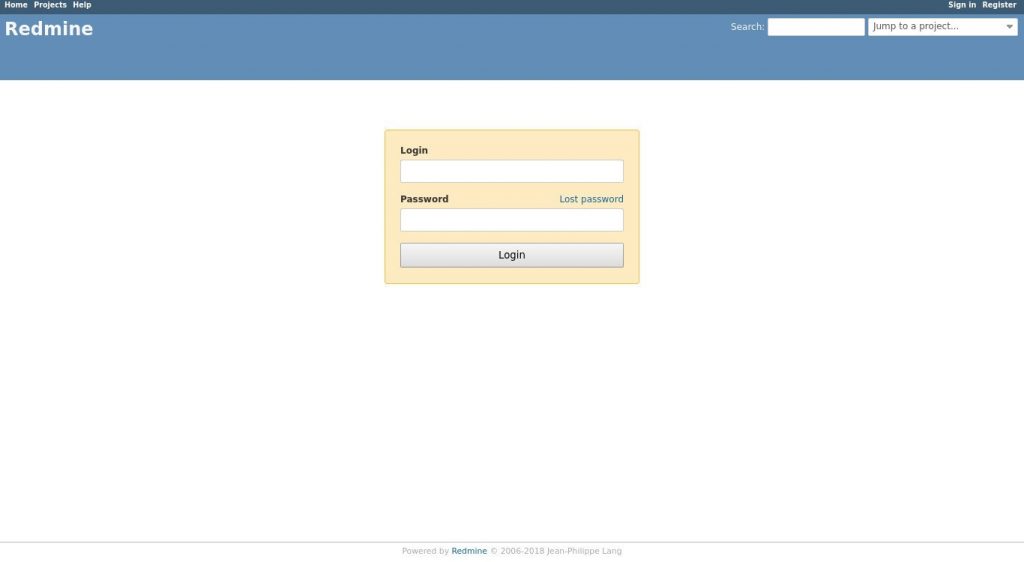
The default login credentials for Redmine are:
- Username: admin
- Password: admin
When you login for the first time, you will be prompted to change the password as shown below:
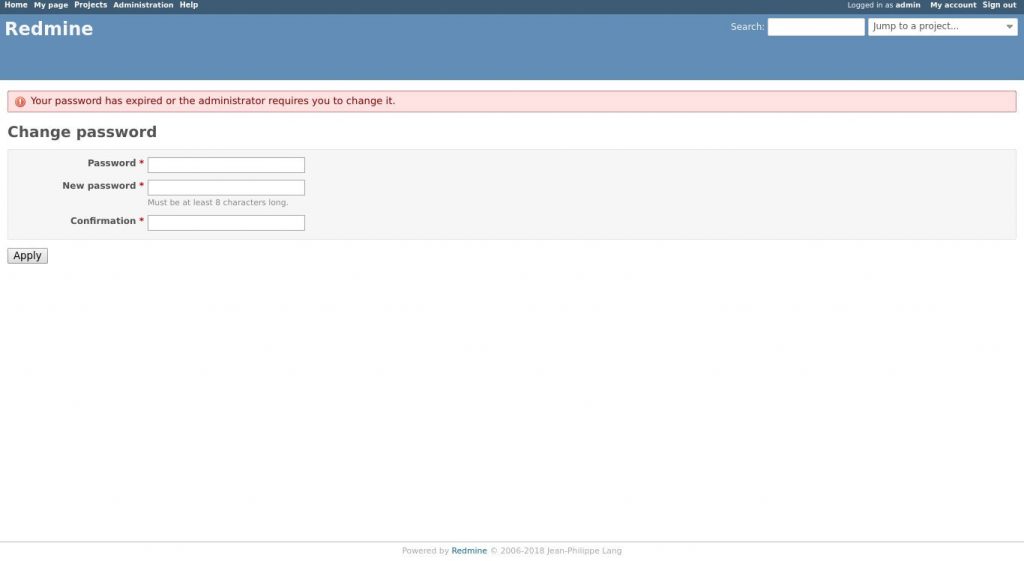
Once you change the password you will be redirected to the user account page.
Conclusion
You have successfully installed Redmine on your CentOS system. You should now check the Redmine Documentation and learn more about how to configure and use Redmine.