
Install and Configure Openbox Using Ubuntu, Since 2011 the Ubuntu Linux distribution has used Unity because the default computer environment and in maximum cases, that is a wonderfully usable person interface with an intuitive launcher and sprint which affords clearly accurate integration with commonplace applications.
Sometimes, even though, if you have an older gadget you’ll need something a touch bit lighter and you may move for some thing like Xubuntu Linux which uses the XFCE desktop or maybe Lubuntu which makes use of the LXDE laptop.
Install and Configure Openbox Using Ubuntu, Some other distributions, which include 4M Linux, use tons lighter window managers together with JWM or IceWM. There are not any legitimate flavors of Ubuntu that include those as the default option.
Install and Configure Openbox Using Ubuntu, You could make some thing similarly as lightweight by means of the use of the Openbox window manager. This is a reasonably naked-bones window manager which you can construct upon and personalize as you so choice.
Openbox is the last canvas for making the desktop just what you want it to be.
This guide suggests you the basics of putting in place Openbox within Ubuntu, how to alter the menus, a way to upload a dock and the way to set the wallpaper.
Installing Openbox
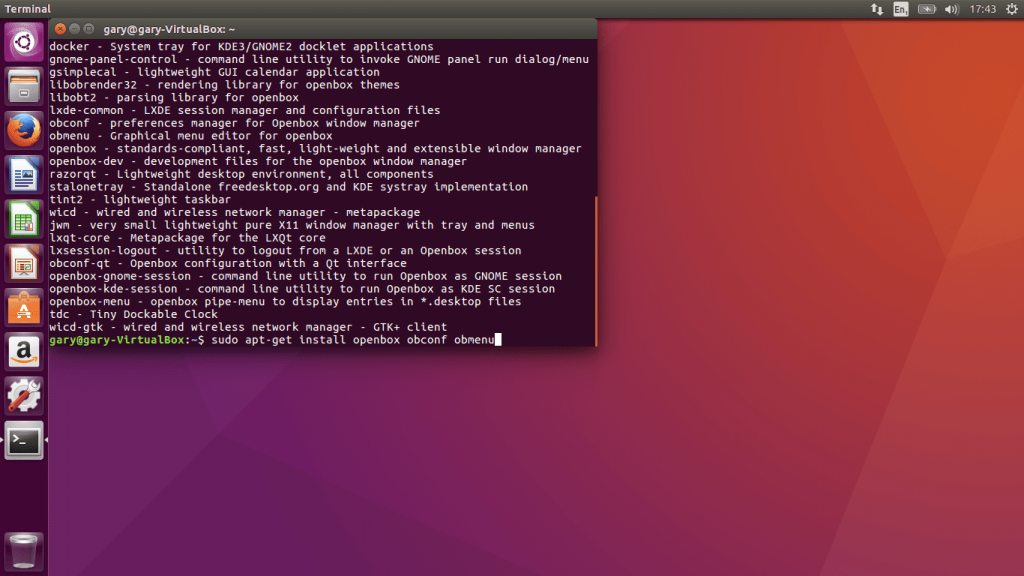
To set up Openbox open a terminal window (Press CTRL, ALT and T) on the same time or look for “TERM” inside the dash and click the icon.
Type the subsequent command:
sudo apt-get install openbox obconfClick on the icon inside the top right nook and then choose sign off.
How to Switch to Openbox
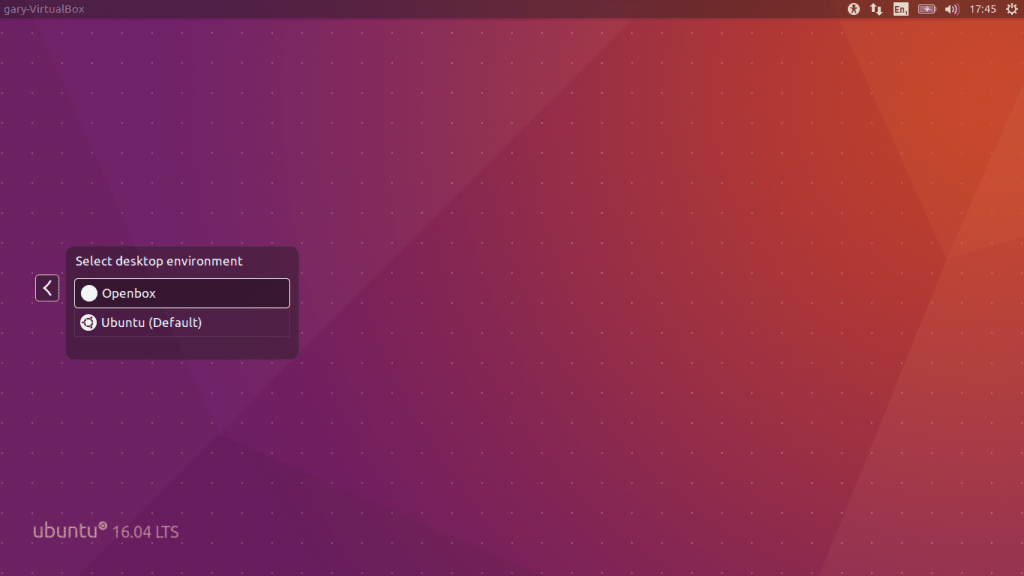
Click on the little icon to the proper of your username and you’ll now see options:
- Openbox
- Ubuntu Default
Click on “Openbox” Log in in your consumer account as normal.
The Default Openbox Screen

Install and Configure Openbox Using Ubuntu, The default Openbox screen is a fairly bland looking display.
Right clicking on the computer brings up a menu. At the moment that is all, there may be to it. You cannot genuinely do a good deal.
To begin the customization system bring up the menu and choose terminal.
Change the Openbox Wallpaper
The first element to do is create a folder referred to as wallpaper as follows:
mkdir ~/wallpaperYou now want to duplicate some images into the ~/wallpaper folder.
You can use the cp command to replicate from the pictures folder for your consumer as follows:
cp ~/Pictures/<nameofpicture> ~/wallpaperIf you need to download a brand new wallpaper open a web browser and use Google Images to look for the right picture.
Right-click on on the photograph and pick to shop as and shop the photo inside the wallpaper folder.
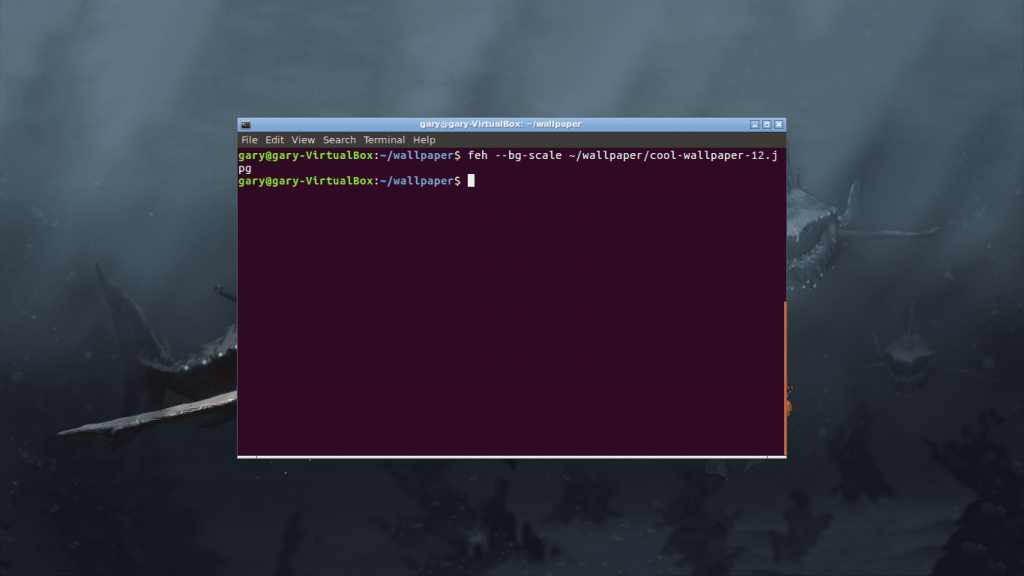
The application that we will use to set the wallpaper heritage is called feh.
To install feh run the following command:
sudo apt-get install fehWhen the utility has finished installing type the subsequent command of setting the preliminary history.
feh --bg-scale ~/wallpaper/<nameofpicture>Replace the with the call of the picture you desire to apply because the history.
At the moment this may most effective briefly set the heritage. To set the history every time you log in you’ll want to create an autostart document as follows:
cd .config
mkdir openbox
cd openbox
nano autostart
In the autostart file enter the subsequent command:
sh ~/.fehbg &The ampersand (&) is tremendously crucial because it runs the command within the history so do no longer leave out it out.
Add a Dock to Openbox
While the computer now looks a bit bit nicer it’d be true to have a way of launching packages.
To try this you can installation Cairo that is a fairly elegant looking dock.
The first issue you need to do is deploy a compositing supervisor. Open up a terminal window and enter the subsequent code:
sudo apt-get install xcompmgrNow install Cairo as follows:
sudo apt-get install cairo-dockOpen the autostart record again via strolling the subsequent command:
nano ~/.config/openbox/autostartAdd the subsequent traces to the bottom of the file:
xcompmgr &
cairo-dock &
You must be able to restart openbox to make this work through typing the following command:
openbox --reconfigureIf the above command doesn’t work sign off and log again in once more.
A message might also appear asking whether or not you desire to apply openGL or no longer. Select yes to keep.
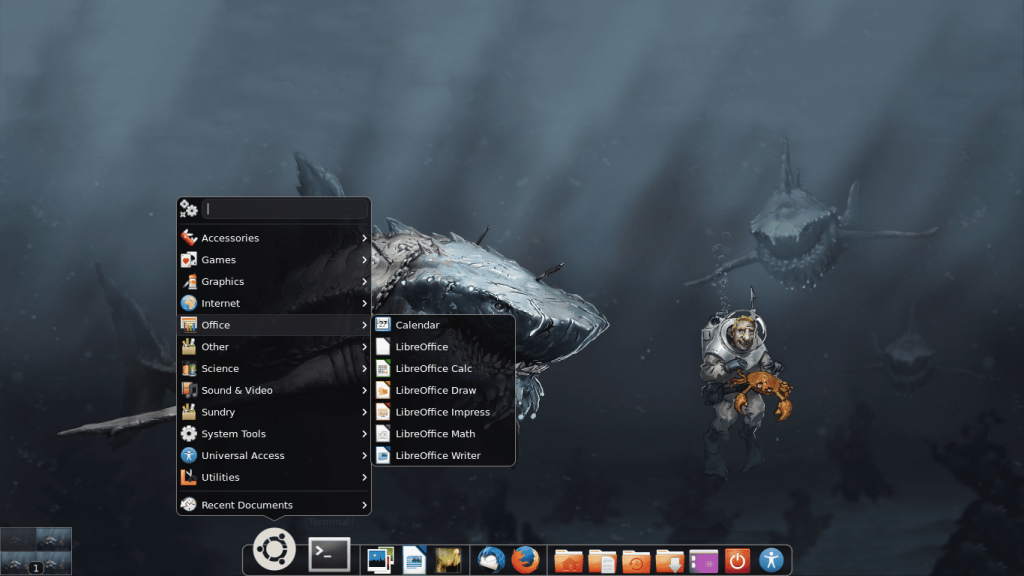
The Cairo dock should now load and you have to be able to get entry to all your applications.
Right click at the dock and pick the configuration choice to play with the settings. A manual on Cairo is coming quickly.
Adjusting the Right Click Menu
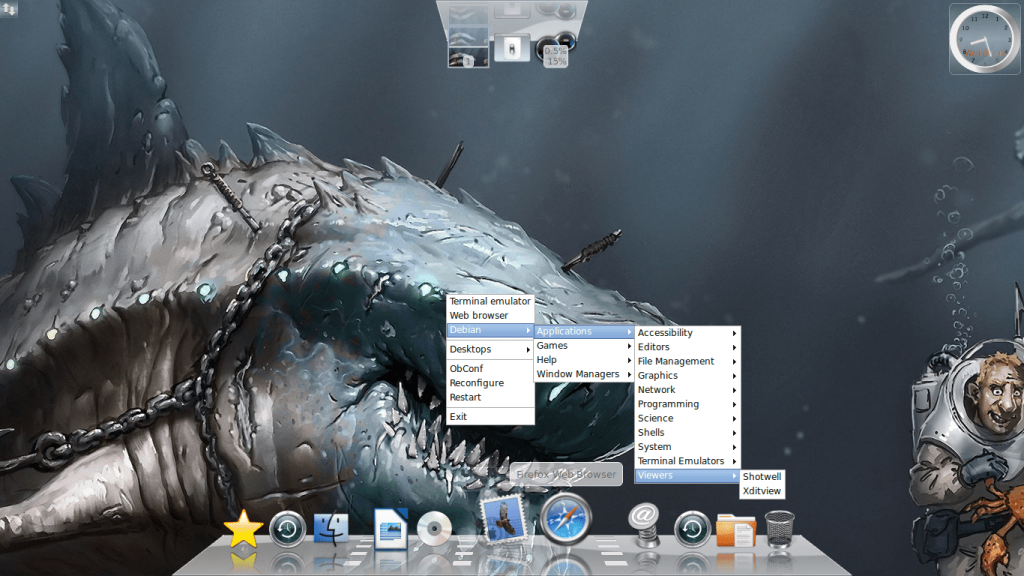
With the dock presenting a decent menu the need for the context menu.
For completeness although right here is a way to alter the right click menu.
Open a terminal again and run the following instructions:
cp /var/lib/openbox/debian-menu.xml ~/.config/openbox/debian-menu.xml
cp /etc/X11/openbox/menu.xml ~/.config/openbox
cp /etc/X11/openbox/rc.xml ~/.config/openbox
openbox --reconfigure
Now when you proper click on the desktop you should see a brand new Debian menu with an programs folder which links to the programs installed on your machine.
Adjust the Menu Manually
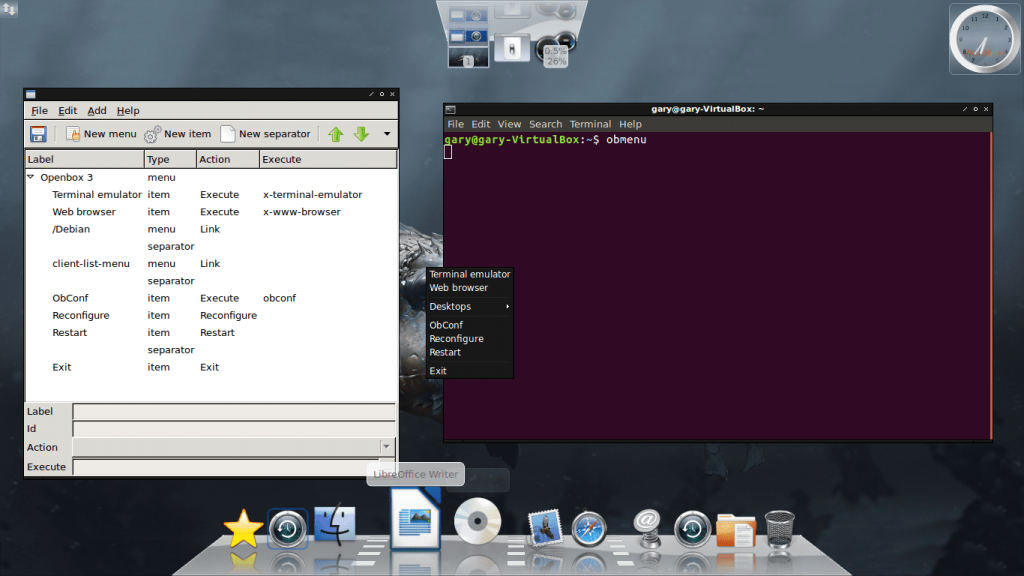
If you need to feature your personal menu entries you may use the graphical application called obmenu.
Open a terminal and type the subsequent:
obmenu &A graphical utility will load.
To add a new sub menu select where you want the sub menu to be inside the list and click on “New Menu”.
You may be requested to go into a label.
To upload a link to a brand new application click on at the “New Item”.
Enter a label (i.E. A name) and then enter the course to the command to execute. You also can press the button with 3 dots on it and navigate to the /usr/bin folder or certainly every other folder to discover the record or program to run.
To cast off gadgets select the object to dispose of and click on the small black arrow to the right of the toolbar and select “Remove”.
Finally, you can enter a separator by way of select where you want the separator to appear and clicking “New Separator”.
Configuring Openbox Desktop Settings
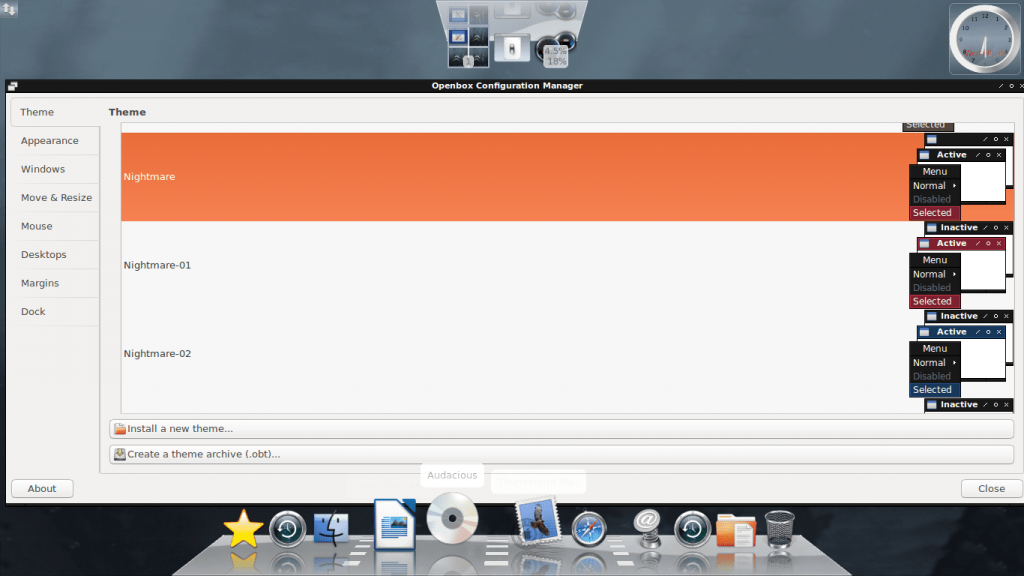
To alter trendy computer settings both right click on the menu and pick out obconf or enter the following in a terminal:
obconf &The editor is cut up into some of tabs as follows:
- Theme
- Appearance
- Windows
- Move & Resize
- Mouse
- Desktop
- Margins
- Dock
The “subject” window helps you to regulate the look and experience of the windows inside Openbox.
There are a number of default themes however you may down load and install some of your own.
The “look” window lets you adjust settings which includes font patterns, sizes, whether or not windows can be maximized, minimized, behavior codified, closed, rolled up and present on all computer systems.
The “windows” tab helps you to see the conduct of home windows. For instance you may robotically focus on a window whilst the mouse hovers over it and you can set where to open new windows.
The “pass & resize” window we could you make a decision how near windows can get to other windows before there may be some resistence and you may set whether to move programs to new computer systems whilst they’re moved off the edge of a screen.
The “mouse” window lets you decide how home windows get recognition while the mouse hovers over them and also we could you make a decision how a double click on affects a window.
The “computing device” window shall we you decide what number of virtual desktops there are and the way long a notification is proven declaring that you are about to exchange computer systems.
Th “margins” window lets you specify a margin across the screen wherein a window cannot skip over them.
Summary
This document introduces you to the basic concepts of switching to Openbox.
Another guide can be created to talk about the main settings documents for Openbox and greater customisation options.