
Step 2. Turn Your Woo Commerce Site into an Online Marketplace
First, you need to install and activate the WC Vendors plugin.
First, you need to put in and set off the WC Vendors plugin. For extra information, see our grade by grade guide on a way to set up a WordPress plugin.
WC Vendors is a marketplace solution for WooCommerce. It simplifies constructing a market website by turning WooCommerce into a multi-supplier platform.
Each seller can promote their merchandise at the same time as you preserve complete manage of the website as the marketplace owner. You can pick out your very own enterprise version, payment strategies, product types, and extra.
Upon activation, head over to WC Vendors » Settings web page to configure market settings.
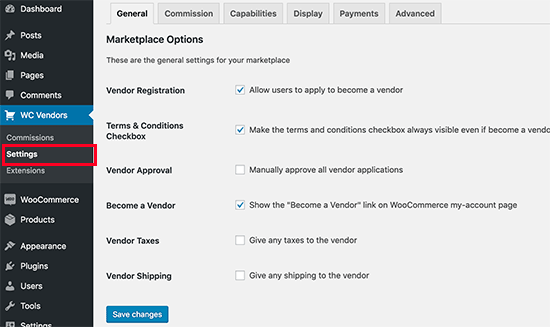
First, you may see the general objects. You need to ensure that the ‘Vendor Registration’ container is checked to permit customers to sign up as Vendor in your website.
You can review other gadgets on the page after which click on the ‘Save Changes’ button to shop your settings.
Next, you want to click on at the ‘Commission’ tab to set a fee price for carriers across your internet site. This is the quantity you’ll pay to the seller for every sale.
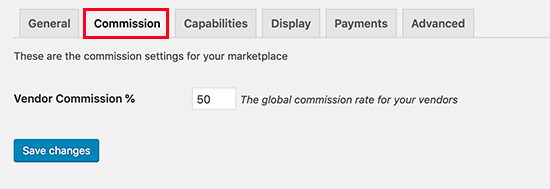
Note: The global commission fee may be overridden for character providers and products.
Next, you need to click at the ‘Capabilities’ tab to set site wide guidelines for providers. This a part of settings comes with three sections.
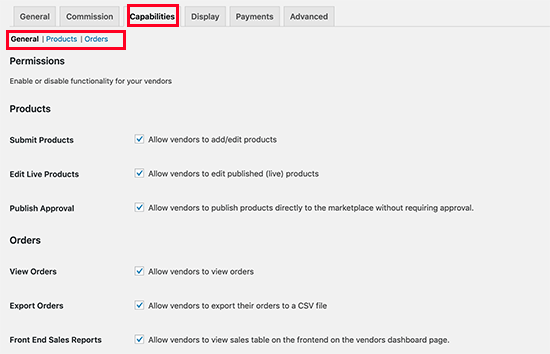
The standard competencies include permitting carriers to view and edit products and orders. The default options would paintings for maximum websites.
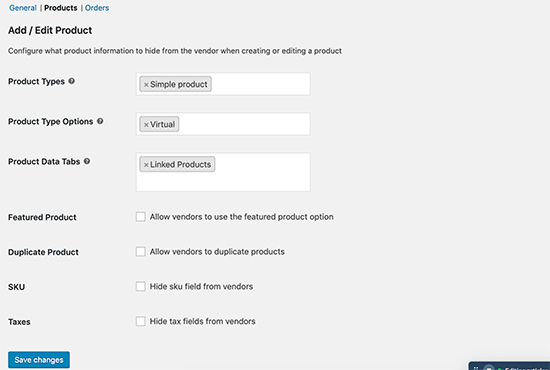
Next, transfer to the ‘Products’ section and from right here you may pick out which sort of products carriers can upload. For example, you may restriction vendors to handiest add digital downloads or a bodily product.
You also can pick out which information Vendors can see and use on the ‘Add Products’ page.
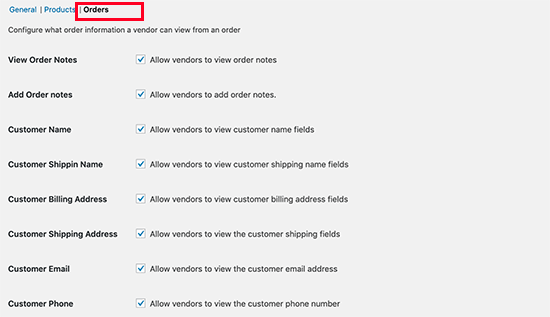
Lastly, transfer to the ‘Orders’ phase beneath ‘Capabilities’ to pick what facts vendors can see approximately the orders.
After setting up the abilities, it is time to set up marketplace related pages on your internet site.
Switch to the ‘Display’ tab below plugin settings to set up pages. You can honestly visit Pages » Add New to create a new page for each object and upload the short code displayed in the settings to the page’s content location.
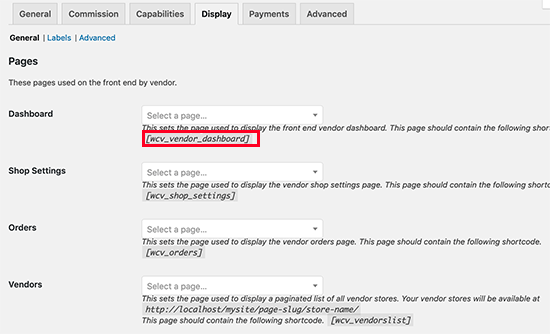
After developing all the pages and adding short codes to them, you can choose them right here.
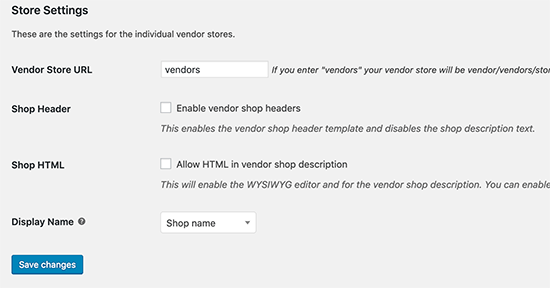
Below the pages, you will additionally find ‘Store settings’ choice on the identical web page. This wherein you could pick out a prefix to apply in Vendor keep URLs, permit them to set custom headers for their store pages, and use HTML in save description.
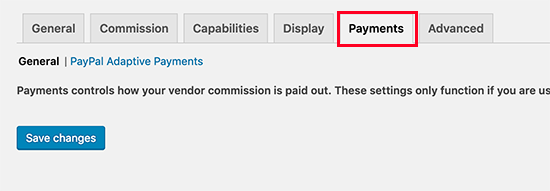
Next step is to installation bills on your carriers. Most marketplace websites set a minimal threshold for their vendors and pay them on a month-to-month or weekly basis.
We recommend using guide bills to companies as this offers clients sufficient time to request refunds or supply remarks about the goods.
However, in case you want to charge withdrawal gadget for vendors, then you could purchase top rate accessories. WC Vendors has accessories available for Stripe, Mango Pay, Escrow, and Manual Payouts.
Depending on the fee gateway you choose, you may need to installation a fee gateway through getting into your API keys. Don’t forget about to click on on the ‘Save Changes’ button to store your settings.
Now that WC Vendors is prepared, let’s installation Woo Commerce for a multi-seller surroundings