
Clone Windows 10 to an SSD,So you purchased an SSD pressure, and now you want to transport your Windows 10 working system plus all the statistics to the new drive.
While Windows 10 doesn’t make this smooth for you, there are methods you could clone and swap the OS set up to an SSD. The first-class part about this technique is once it’s achieved, it’ll make your system faster.
Here’s a manual that suggests you a way to clone the complete Windows OS with all documents and settings intact over to the SSD drive.
Note: before moving your OS to the SSD drive, make sure you back up your data. This protects you in case something goes wrong, as the data is needed for the entire process.
Clone Windows 10 to an SSD,Preliminary steps
Clone Windows 10 to an SSD,Now that you’ve backed up your power, here are some other steps to take simply earlier than acting the cloning (migration) of Windows 10 to the SSD force.
- Shrink your disk contents to remove extra space, as SSD drives generally have less area in comparison to ordinary HDDs. This ensures your machine partition fits on the brand new pressure.
- Delete any personal files, multimedia documents like pictures, films, music, and non-gadget documents so your partition is as small as viable. Don’t fear approximately deleting these files because they’re already backed up besides.
- Check that your machine partition can healthy at the SSD drive, and then you can begin the cloning procedure.
If you pick, you may use Windows’ Disk Cleanup device to prepare your machine for a easy, fast, and painless transition in your SSD force.
To do this, following the underneath steps.
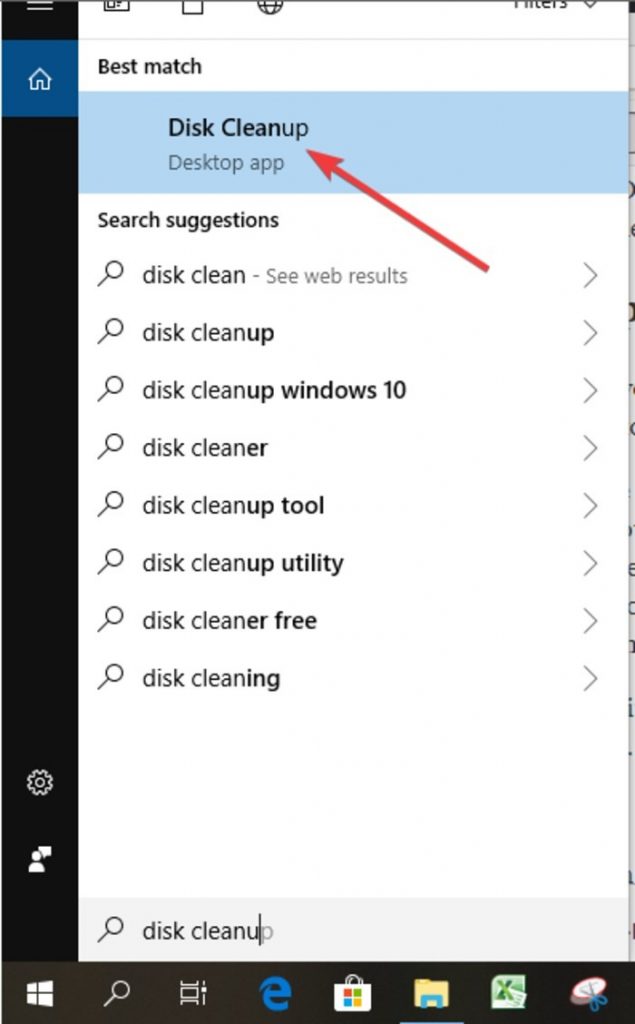
1.In the Windows search bar type Disk Cleanup, and click on its link.
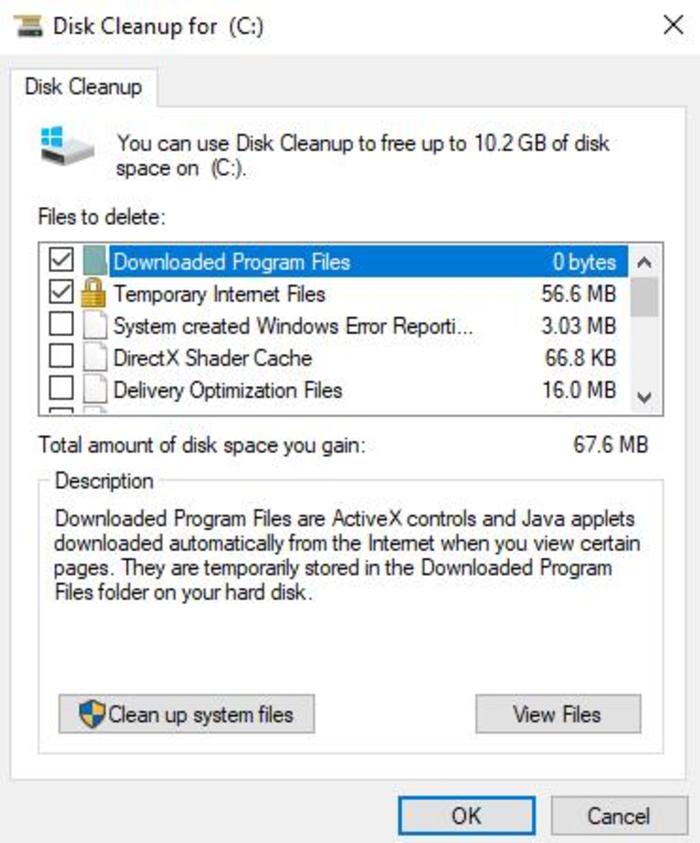
2. A box with a list of file types will open. Check the files you want to get rid of or delete. Most of them will be checked already, as they’re the files you don’t need like temp files and other data. Double check to make sure you didn’t include files you actually want to keep.
3. Click “Clean up system files.”

3. Click “Clean up system files.”
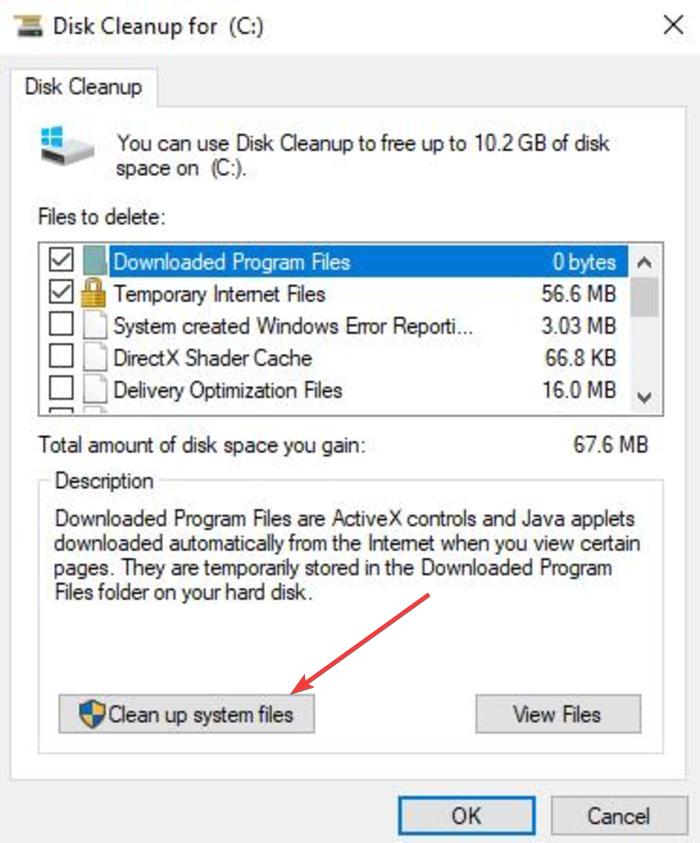
4. Click OK to begin the cleanup process.
Cloning Windows 10 to an SSD drive
There are specific methods you may use to clone Windows 10 OS for your SSD pressure, a number of with a view to require 0.33-celebration tools to get the activity finished. The most commonplace third-celebration tools you could use to clone Windows 10 with out a reinstall to your SSD are EaseUS and AOMEI Backupper.
Using EaseUS software
EaseUS is a free cloning software program that lets in you to migrate Windows 10 with out reinstalling the gadget to your SSD power.
1.Download EaseUS Todo Backup clone software.
2. Launch and run the software on your computer.
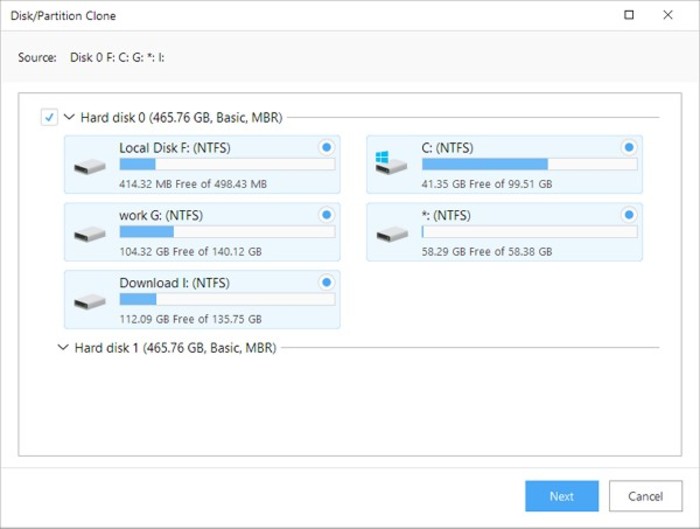
3. Select “Clone.”
4. Select the disk partition you’d like cloned and the destination disk you need to save the cloned disk to, or to partition with statistics.
5. Click “Proceed” to start the cloning process or partition now.

6. Reboot your computer.
Note: in case you get an error saying the drive is too big, just delete more files from your HDD.
You can now continue the use of Windows 10 in your SSD pressure. If you like, you may do away with the vintage Windows HDD or use it as more storage.
Using AOMEI Backupper software
AOMEI Backupper is some other 0.33-birthday celebration device you can use to transport your OS to your SSD force. It is straightforward to use, flexible, and offers information backup, disk cloning, catastrophe recuperation, and file syncing answers.
1.Download and install AOMEI Backupper Standard to your computer.
2.Connect your hard drive to your computer.
3.Launch the process by going to “Clone -> System Clone.”
4.A new window will open asking you where you’d like the OS files to be moved to.
5.Select your SSD drive.
6.Confirm your selection.
7.Click Next and follow the on-screen prompts to complete the cloning.
You have now successfully cloned your OS to the SSD drive.
The next steps
After cloning your OS to the SSD drive, restore your private documents and consumer folders to the antique and formatted HDD.
- Create a new folder in your old power to keep private documents and person folders – give the folder some thing call you want – for instance, MyOldStuff.
- Go to “C://Users/.” (Here you’ll see all of your consumer folders.)
- Right-click on on each folder and pick out the “Properties -> Location” tab.
- Click “Move.”
- Select the brand new folder because the target.
All your folders will now be positioned in the vintage pressure (HDD).
To repair your personal files to the vintage HDD, observe the two steps beneath.
- Open the backup destination (can be external garage, cloud, or every other partition).
- Drag all consumer files to the new person folders like My Documents/My Music or different person folders.
All your personal files will now be reachable, although they’re not inside the system partition.