
How to Add a Thick Outline to Type in Photoshop,There are several methods to create mentioned textual content in Photoshop, but maximum require you to render the textual content. Here’s a way for a thick outline that permits the sort to remain editable. You can use this technique to add an outline to any object or selection, now not just textual content. However, until you’re the use of a very vintage model of Photoshop, the Stroke layer effect is a better manner to add outlines to gadgets in Photoshop 6 or later. In case you were questioning, “stroke” is just every other manner of announcing define in Photoshop jargon.
Just hold in mind including a stroke to text isn’t precisely seemed as a best exercise. All it tends to do is to make the textual content bolder and to make the text illegible. This is one of those techniques you must simplest use whilst the text is to be regarded as a photo element. Even then, except there is a valid and compelling reason to do so, be subtle.
How to Add a Thick Outline to Type,How to Add a Thick Outline to Type in Photoshop
How to Add a Thick Outline to Type
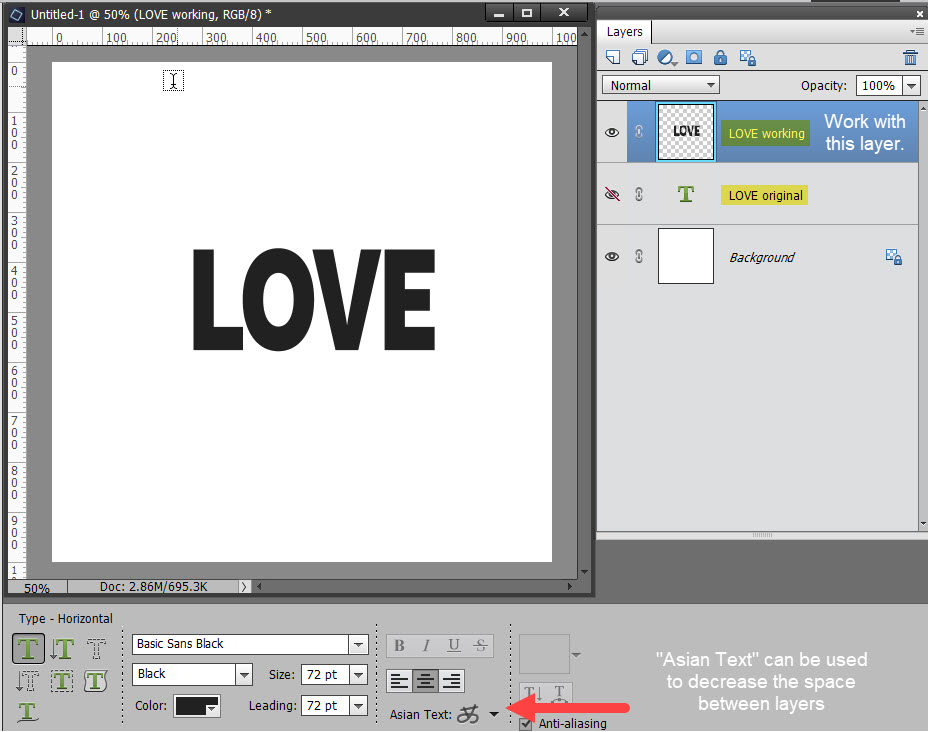
01.Select the type tool and create your text.
02..With the Type Layer selected, pick out Stroke from the Fx menu.
03.When the Layer Style dialog field opens, be sure Stroke is chosen.
04.Set the width to the desired quantity through the use of either the slider or entering your personal fee.
05.Choose a Location for the stroke. (Let’s count on you have added a 20-pixel stroke.) There are 3 picks
- The first is Inside. This approach the stroke might be positioned inside the rims of the selection.
- The second is Center. This manner the stroke will seem 10 pixels internal and out of the selection.
- The 1/3 is Outside. This means it’s going to run the stroke alongside the outside fringe of the choice.
06.Blending Mode: The picks right here determine how the colored stroke will have interaction with the colors beneath the stroke. This is particularly powerful if the text is positioned over an photo.
07.Opacity sets the transparency cost for the stroke.
08.Click once at the colour chip to open the coloration picker. Select a color for the stroke or pick out a coloration from the underlying picture.
09.Click OK.
How to Very Quickly Add a Thick Outline to Type,How to Add a Thick Outline to Type in Photoshop
How to Add a Thick Outline to Type in Photoshop ,If you are definitely lazy or pressed for time, right here’s every other manner. This technique is ridiculously clean and takes approximately 45 seconds.
01.Select the Horizontal Type Mask Tool.
02.Click as soon as at the canvas and enter your textual content. You may have noticed that the canvas turned purple and the underlying picture showed via as you typed. That is just Photoshop showing you the mask.
03.Press the Command (Mac) or Control (PC) key and a bounding field will appear. With the important thing held down, you may resize, distort or rotate the text.
04.Switch to the Move device and the textual content seems as a ramification. From there, you can add a stroke to the choice.
You don’t constantly should upload a solid stroke to the selection. You can use a Brush.(How to Add a Thick Outline to Type in Photoshop )
01.Create the text outline the use of one of the two techniques proven.
02.Open the Path panel via choosing Window > Paths.
03.Select the Make Work Path alternative from the lowest of the Paths panel. This will bring about a new direction named “Work Path.”
04.Select the Brush Tool.
05.In the Photoshop Options, click as soon as on the Brush icon to open the Brushes to be had to you. Alternatively, you could open the Brush panel to pick the best brush.
06.Double-click on the foreground shade chip inside the tools to open the Color Picker. Choose a coloration for the Brush.
07.In the Paths panel, together with your course selected, click on once at the Stroke route with brush icon (the strong circle). The brush stroke is carried out to the path.
Tips
- If you edit the textual content, you will need to trash the outline layer and recreate it.
- For a thinner define, the layer outcomes approach is favored (see related records below).
- For a ragged outline, set the layer mixture mode to dissolve and lower the opacity.
- For a gradient stuffed outline, Ctrl-click (PC) or Command-click on (Mac) on the outline layer, and fill the choice with a gradient.
- If you have got a Creative Cloud account, open your Creative Cloud Library and double-click on a brush you have got created to use it to a direction. Brushes are without problems created using the Adobe Capture app which is to be had for Android and iOS gadgets.