
In the event that you need to take a great deal of screen captures on your Mac, you may like this stunt to get them the right size without fail.
Taking screen captures has consistently been something macOS has done well indeed. Alternate routes permit you to send screen captures to the clipboard or save them to the Desktop. You can catch the whole screen or any discretionary square shape. You can likewise catch a particular window with a programmed drop shadow.
The window catch, specifically, produces a decent outcome. However, it’s difficult to take a screen capture with precise measurements. Resizing a window to a careful pixel width and tallness is adequately interesting. The extra shadow makes it considerably harder.
Here’s the way you can catch consummately estimated window screen captures without fail.
Stage 1. Figure out How to Run AppleScript
Despite the fact that you can resize pictures utilizing Photos or Preview, it’s anything but a ton of experimentation, particularly with regards to window-based screen captures. Our method utilizes AppleScript, a prearranging language that gives admittance to Mac applications. It’s by and large what you need to set the exact size of a window.
You can run AppleScript orders and projects utilizing two techniques:
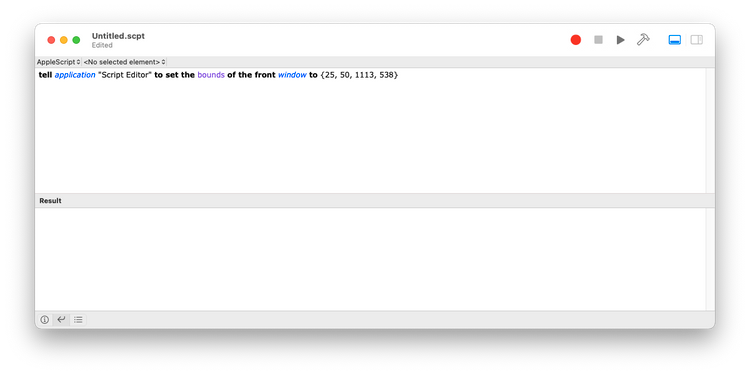
- The Script Editor application has a GUI and open documentation.
- You can run the osascript program on the order line, utilizing Terminal. You can send AppleScript as contribution to osascript like so:
echo ‘…applescript goes here…’ | osascript
The choice you use is down to individual inclination.
Stage 2. Resize a Window Exactly Using AppleScript
The order to estimate a window in AppleScript is:
- tell application “Finder” to set the bounds of the front window to {25, 50, 1025, 650}
Note that this is very verbose, so make certain to type it precisely as displayed. The individual parts fill in as follows:
tell application “Locater” to sets up the application you need to work with. Here, it’s Finder, yet you can utilize any running application with a window open.
set the limits of the front window to depicts the activity to complete. You’ll set the size of the front window, so try to bring the one you need to the front first.
{25, 50, 1025, 650} are the limits. Note that these are the x and y directions of the upper left and base right corners, individually. For this reason, the real qualities are less significant than the contrast between them—the width and tallness.
Stage 3. Work Out the Shadow Size
The last piece of the riddle is working out the size of the drop-shadow, so you can consider it. This includes a touch of work we’ll simply advise you, the shadow is 112×112 pixels.
However, on the off chance that this changes, or you at any point need to work it out without any preparation, here’s the manner by which to do it.
- Start by getting the components of a window, any window will do:
tell application “Finder” to get the bounds of the front window
- Take away the initial two qualities from the subsequent two to get the width and stature.
- Presently take a screen capture of the window (Shift + Cmd + 4, then, at that point Space, then, at that point Return).
- Select the screen capture picture document in Finder and note the measurements in the see sheet (View > Show Preview). These ought to be greater than the width and stature you acquired in the last advance. The thing that matters is the size of the shadow.
Stage 4. Set up Everything
Suppose you need a screen capture of precisely 1024×768 pixels. This is what you need to do:
- Start by adding on the shadow measurements. Assuming they’re 112×112, our last window will be (1024+112)×(768+112)— that is 1136×880.
- Presently, pick organizes for the upper left corner and add them to these measurements to get the base right corner for example {25, 50, 1136+25, 880+50} which is {25, 50, 1161, 930}.
- Run the AppleScript order:
tell application “Finder” to set the bounds of the front window to {25, 50, 1161, 930}
- At last, take the screen capture (Shift + Cmd + 4, then, at that point Space, then, at that point click).
In the event that this seems as though a great deal of work, don’t stress—you just need to do stages 1-2 once. In the event that you consistently utilize a few diverse picture sizes, you can save an AppleScript record for every one.
Use AppleScript to Perfect Your Window Screenshots
This method takes a touch of setting up at first, yet it can save you a ton of time over the long haul. There’s an amazing absence of window-measuring highlights in macOS, however AppleScript assists you with bypassing these inadequacies. For impeccably estimated screen captures, with no off-kilter editing, nothing beats pixel exactness!
In the event that you regularly need to work with numerous screen captures, consider utilizing a technique to group resizing.