
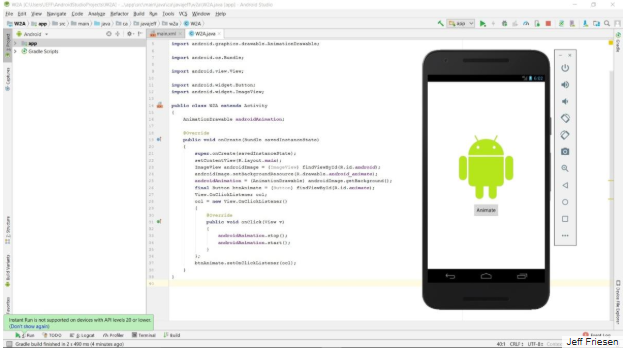
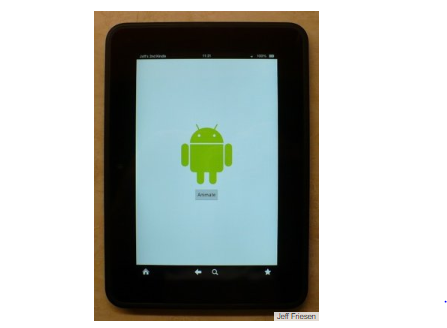
Build & run app with Gradle, then run it with the Android device emulator or Kindle Fire tablet

Build & run app In Android Studio for beginners, Part 2, you created your first lively mobile app the use of Android Studio. Now, Part 3 will take you thru the stairs to construct and run the app in an Android device emulator or stay device.
We’ll first use Gradle to construct the app’s application package deal (APK) report. Then I’ll show you how to installation and run the app on an Android device emulator or an real device, in this example a Kindle Fire pill. I’ll additionally show you ways I resolved a couple of issues with Android Studio’s tool emulator setup, together with the infamous Timed out whilst ready errors.
Note that this collection has been up to date for Android Studio three.2.1, the cutting-edge stable release as of this writing.
Build & run app Building your Android app
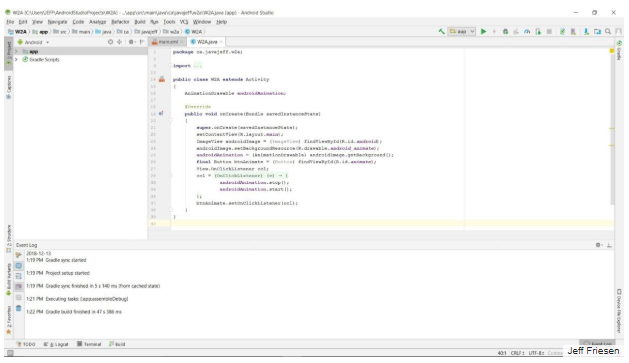
Build & run app If you accompanied alongside in Part 2, you’ve got already loaded your supply code and resource files into your Android Studio challenge. Now you’re prepared to construct the app for the primary time.
If you have not already, start up Android Studio. The menu bar gives a Build menu, which you’ll use to access Gradle and construct the instance utility.
Select Make Project from the Build menu. You ought to observe a Gradle Build Running message on the status bar. After a bit whilst, you must have a look at a Gradle Build Finished message. Click on this message and the Event Log window seems.
There’s a couple of manner to build an Android app. For instance, you may pick out Rebuild Project from the Build menu. Another method is to definitely run the app. If important, Gradle will routinely rebuild the app earlier than its APK is hooked up and the app is run.
Build & run app Do more with the Build menu
Build & run app Android Studio’s Build menu helps you to carry out several build tasks. For example, you can use the Generate Signed Bundle / APK menu item to construct a signed app package or APK.
Running your Android app
In this phase I’ll show you a way to run an Android utility two approaches: first on an emulated device, after which on an real device. For my example I’ll be the use of an Amazon Kindle Fire HD tablet, however the instructions should typically follow to the tool of your choice.
Run your Android app on an emulated device
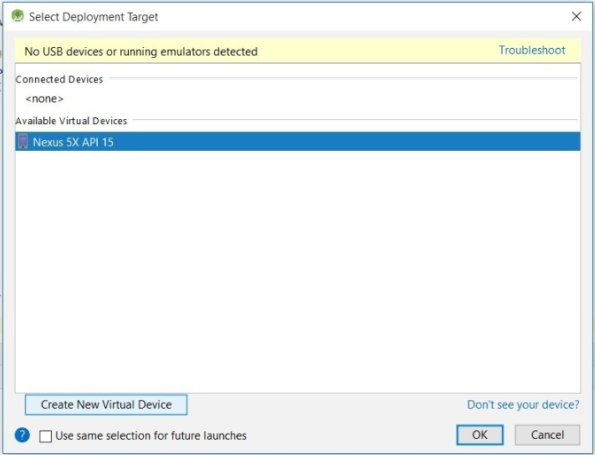
You can run the example software (W2A) or every other app by using choosing Run ‘app’ in the Run menu. Alternatively, you could click the inexperienced triangle button on the toolbar. Either manner, Android Studio responds with the Select Deployment Target conversation box.
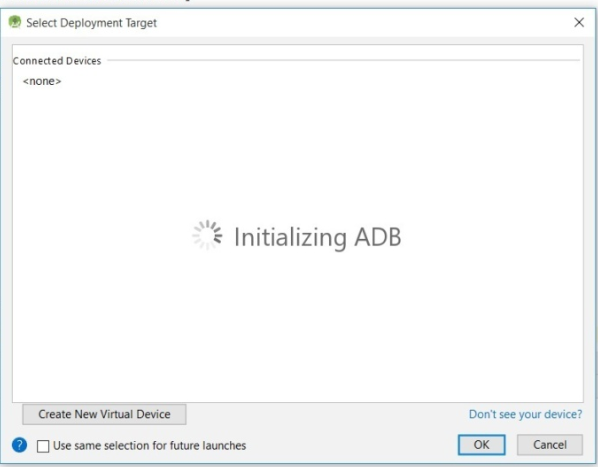
After you’ve initialized the Android Debug Bridge, the message in Figure 2 will get replaced by means of a listing of all linked USB gadgets and jogging emulators that have been detected by means of Android Studio.
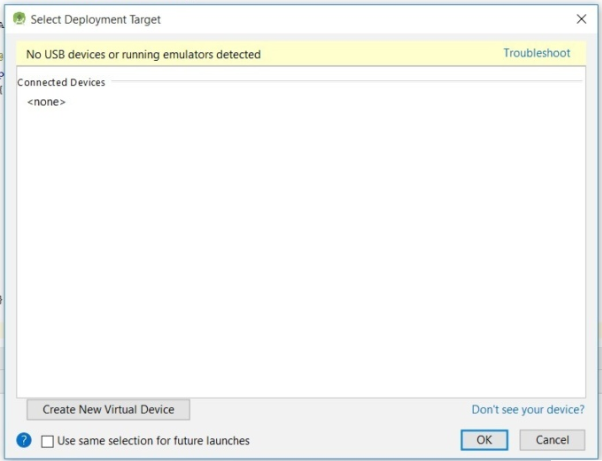
In this example, Android Studio hasn’t detected any related USB gadgets or emulators, so you’ll need to configure a new virtual device. Clicking Create New Virtual Device launches the dialog box proven in Figure 4.

Select something device you want to emulate. For this case, I selected the highlighted (default) Nexus 5X. Click Next after you have made your selection.
The ensuing System Image panel invitations you to pick a machine photo for this tool emulation. I clicked the Other Images tab accompanied by IceCreamSandwich — the highlighted line in Figure five.
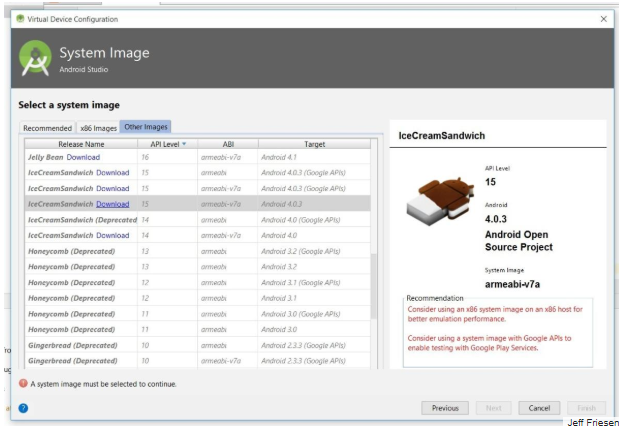
You’ll want to click on the Download link to down load whatever device photograph you’ve got chosen. The photo isn’t always installed with the aid of default. Before you can deploy the system photo, you’ll also be presented with a license agreement.
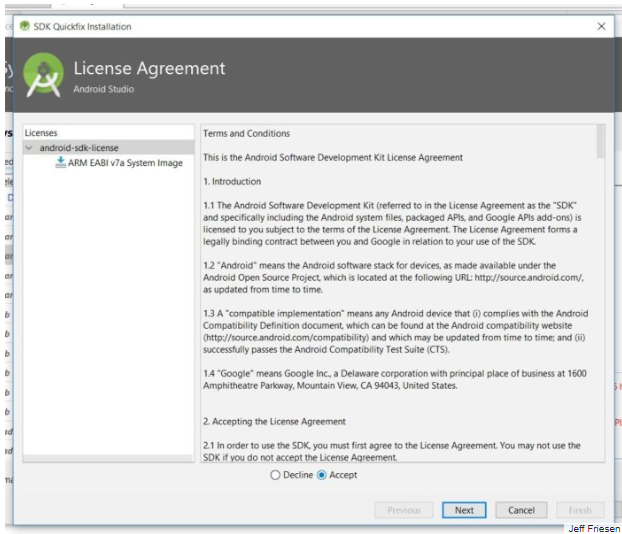
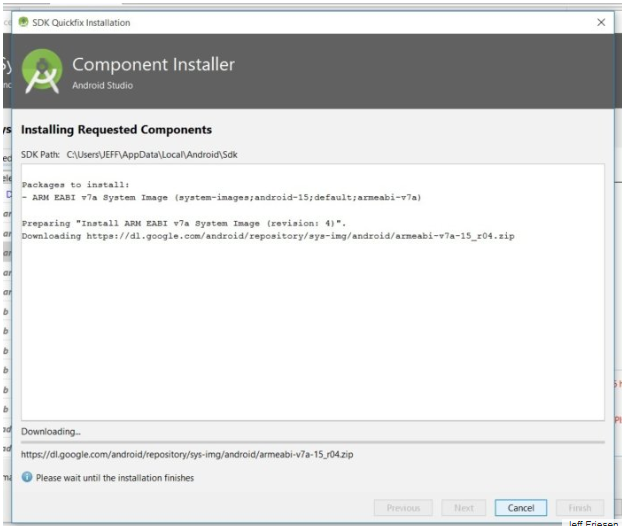
You ought to take delivery of the license settlement to hold. After accepting the license agreement, you will be presented with the Component Installer panel. At this point, the machine photo components are being downloaded and installed.
Before persevering with, it is a very good concept to check your work. Use the Back button to navigate out of the installation dialogs and lower back to the Android Virtual Device (AVD) panel. Here you may affirm your settings for the emulator AVD with a view to run your emulated device.
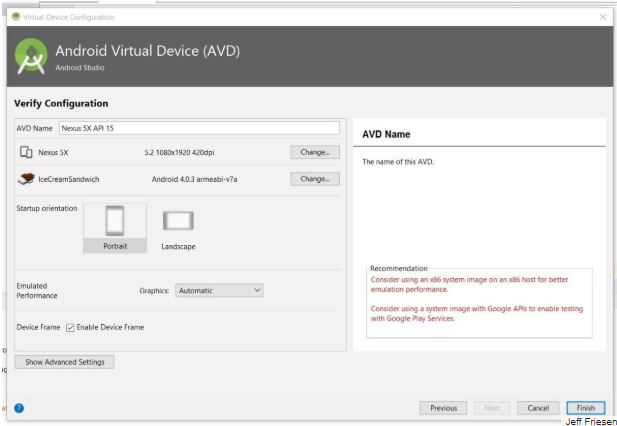
For this case, I selected to preserve the default settings. You can maintain the defaults or make something changes are important, then click Finish. You should now be again to the Select Deployment Target conversation field.
Highlight your preferred device entry and click on OK.
Android version history
Take a digital excursion of Android versions, from Cupcake 1.Zero to Pie, launched in August 2018.
Troubleshooting the Android device emulator
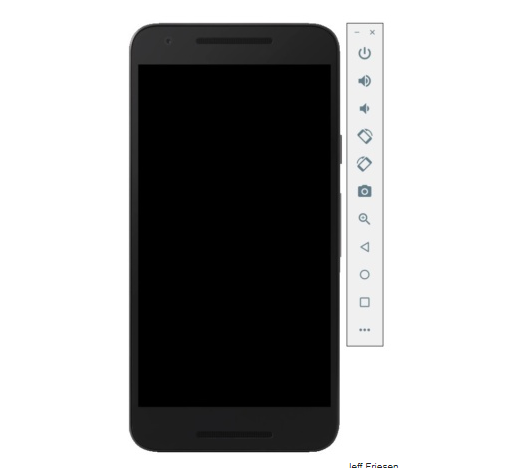
Unfortunately, at this factor inside the installation you can get hold of a message that Instant Run isn’t always supported. In my case, the reputation bar provided a Waiting for target tool to return on-line message and an empty emulator window seemed.
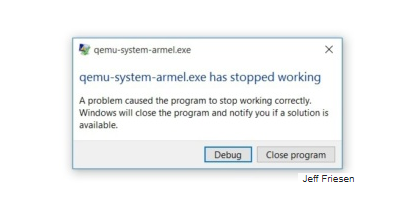
Shortly after the emulator window seemed, the Windows-primarily based qemu-machine-armel.Exe program it’s liable for growing this window crashed. (Recall from Part 1 that I’m going for walks a 64-bit Windows working device.)
At first, I wasn’t certain the way to restore this trouble. Fortunately, the next time I ran Android Studio three.2.1, I determined an IDE and Plugin Updates message within the decrease-right vicinity of Android Studio’s important window.
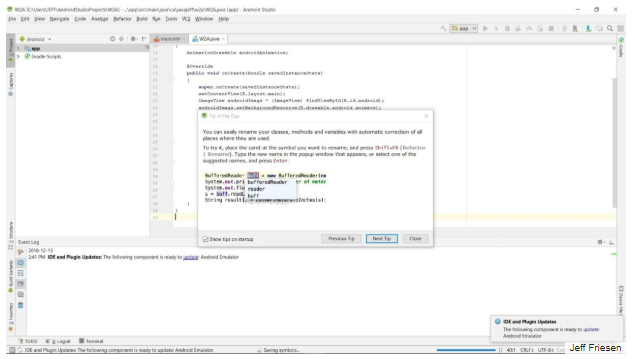
I clicked the update hyperlink and accompanied guidelines to update the emulator, which ended in a brand new qemu-machine-armel.Exe document.
No greater crashes, however I fast hit another snag.
Waiting for target device to come online
When I tried jogging the app in my emulator, the fame bar yet again displayed a Waiting for goal device to return online message, accompanied through the empty emulator window.
Eventually, Android Studio gave up on waiting and supplied the mistake message: Error even as expecting tool: Timed out after 300 seconds expecting emulator to return on-line.
When I googled those messages, I determined that many others have experienced this issue. Some developers have solved this problem by using enabling the AVD’s Graphics Processing Unit hardware. It took a few exploring to determine this out, so I’ll share what I learned, and with a bit of luck prevent some time.
Enable AVD’s Graphics Processing Unit
An AVD includes several files and directories placed in a directory with the .Avd extension. For example, the AVD I created is located in C:USERSJeff.AndroidavdNexus_5X_API_15.Avd.
This listing contains a config.Ini document, which shops configuration settings for the AVD. Two settings stuck my interest:
hw.gpu.enabled=no
hw.gpu.mode=off
I modified these entries to the following:
hw.gpu.enabled=yes
hw.gpu.mode=on
Enabling the Graphics Processing Unit solved the trouble: the next time I tried to run the app, I observed a properly jogging emulated Nexus 5X device.
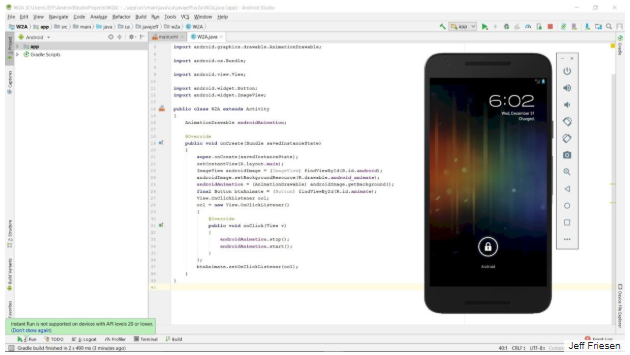
I unlocked the tool by means of the usage of the mouse to swipe the lock icon to the right. At this factor the emulator showed the example app’s most important pastime.
What about using the AVD Manager?
If you are like me, you may assume it’s feasible to alternate the emulator settings thru the AVD Manager. For instance, an AVD’s configuration display screen has a Graphics drop-down list field with Software – GLES 1.1 (the default) and Hardware – GLES 2.Zero entries. I tried deciding on Hardware – GLES 2.Zero, but the exchange failed to stick. I successfully changed the hw.Gpu entries within the config.Ini file.
Running your Android app on a live device
Running an app through a gradual emulator may be very irritating. One answer is to use faster emulation software program, which include GenyMotion’s Plugin for Android Studio. Another answer is to apply an actual Android device.
Some years ago, I purchased a primary-technology Amazon Kindle Fire HD 7″ pill, which runs Android four.0.Three (API Level 15). I nonetheless use this pill to run Android apps that do not require the present day Android APIs.
While studying the way to use my Kindle Fire pill with Android Studio 3.2.1, I located two beneficial guides from Amazon: Set Up Your Development Environment for Fire Tablets and Connect to Fire Tablet thru ADB. I’ll summarize the technique of connecting a Kindle Fire tool to Android Studio, however seek advice from these guides if you want more records.
First, in case you’re a Windows user like me, you may want to begin with the aid of uninstalling the non-ADB driving force this is mounted while your Kindle Fire tablet is hooked up in your improvement pc, with out first allowing ADB. Then you will set up Amazon’s USB driving force.
Next, down load the Kindle Fire USB driver. The downloaded ZIP archive carries a Fire_Devices ADB drivers.Exe software.
Execute Fire_Devices ADB drivers.Exe and follow commands. I ended up with a C:Program Files (x86)Amazon.ComFire_DevicesDrivers listing containing the necessary motive force files.
After installing the drivers, you’ll need to allow ADB for your tablet. Then, you’ll join the tablet in your improvement computer. See the Amazon guide if you want additional commands for connecting your tablet to Android Studio.
Once you’ve got the whole thing set up, start Android Studio, load your Android task, and run the app. This time, the Select Deployment Target conversation field ought to show an Amazon KFTT access in the Connected Devices section. Select this access and click OK. Android Studio responds via directing Gradle to build the app. Once that’s accomplished, it’s going to deploy the app’s APK and run the app on the device.
Conclusion to Part 3
You’ve written, built, and run your first Android Studio software the usage of Android three.2.1 or higher, and you’ve finished a few troubleshooting along the manner. As a subsequent step, I endorse experimenting with what you’ve learned. Use the examples and supply code from the primary 3 Android beginner tutorials to broaden a new task of your own. Keep your projects simple whilst you examine the ins and outs of working with Android Studio and its integrated features, however do challenge yourself to experiment.
Of direction, there may be more you can do with Android Studio. The final article in this collection introduces three integrated tools for logging, debugging, and linting your Android apps. We’ll also increase Android Studio with 3 productiveness plugins, along with Project Lombok.
Until then, satisfied coding!