
Android Studio,Install Android Studio and start your first Android project. Updated February 2019

Android Studio,For a few years now it’s been clear that Android is a force to be reckoned with in the cellular OS panorama. This Java-based totally era has sparked a new gold rush, with programmers competing to make money from their cellular apps. Android jobs are also abundant, as shown by a quick task search using Indeed.Com.
To be successful, Android developers need a very good hold close of the Java language (or Kotlin), Android APIs, and Android application architecture. It’s also critical to apply the perfect and powerful development surroundings. For many years, Eclipse IDE with the ADT plugin was the favored platform for Android development. Today, it’s Android Studio.
Android Studio,What’s new in Android Studio 3.x
Android Studio,Find out what to search for within the contemporary model of , which include support for Kotlin, Java 8, and a wealth of latest gear and plugins.
If you’re new, this tutorial series will get you commenced. I’ll in short introduce the Android development platform, then show you how to download, install, and run the software program. After that, we’ll spend most of our time sincerely the usage to develop an lively mobile app:
- Part 1, you may start up your first Android mission and get to recognize Android Studio’s major window.
- In Part 2, you’ll code the app, gaining knowledge of the way to use to enter source code and assets into the challenge.
- Part three, we’re going to build and run the app, the usage of both an emulated hardware device and a Kindle Fire pill.
- Part four, I’ll show you how to use use integrated gear and plugins to debug Android and improve your coding productiveness.
Examples on this series are from the most strong version of Android at the time of this writing, Android three.2.1.
Get started with Android Studio
is Google’s formally supported IDE for growing Android apps. This IDE is based totally on IntelliJ IDEA, which offers a powerful code editor and developer gear. three.2.1 consists of the subsequent capabilities:
- A bendy Gradle-primarily based construct device
- A rapid and feature-rich emulator
- A unified environment in which you may develop for all Android gadgets
- Instant Run to push changes on your strolling app with out constructing a new APK
- Code templates and GitHub integration that will help you construct not unusual app functions and import pattern code
- Extensive checking out tools and frameworks
- Lint gear that will help you trap performance, usability, version compatibility, and different issues
- C++ and NDK help
- Built-in aid for Google Cloud Platform, making it smooth to combine Google Cloud Messaging and Google App Engine
- Plugin structure for extending Android Studio via plugins
Android Studio,Download Android Studio
Android Studio,Google gives for the Windows, Mac OS X, and Linux structures. You can download from the homepage, wherein you may additionally locate the conventional SDKs with Studio’s command-line gear. Before downloading , make certain your platform meets the subsequent requirements:
Windows requirements
- Microsoft Windows 7/8/10 (32-bit or sixty four-bit)
- 3 GB RAM minimum, eight GB RAM advocated (plus 1 GB for the Android Emulator)
- 2 GB of to be had disk area minimum, four GB encouraged (500 MB for IDE plus 1.5 GB for Android SDK and emulator system picture)
- 1280 x 800 minimal display resolution
Mac OS requirements
- Mac OS X 10.10 (Yosemite) or higher, up to ten.Thirteen (High Sierra)
- 3 GB RAM minimal, 8 GB RAM encouraged (plus 1 GB for the Android Emulator)
- 2 GB of available disk area minimum, 4 GB advocated (500 MB for IDE plus 1.5 GB for Android SDK and emulator device photo)
- 1280 x 800 minimal display screen resolution
Linux OS requirements
- GNOME or KDE desktop. Tested on Ubuntu 14.04 LTS, Trusty Tahr (64-bit distribution able to walking 32-bit applications)
- 64-bit distribution capable of walking 32-bit packages
- GNU C Library (glibc) 2.19 or later
- 3 GB RAM minimal, 8 GB RAM advocated (plus 1 GB for the Android Emulator)
- 2 GB of to be had disk area minimal, 4 GB endorsed (500 MB for IDE plus 1.Five GB for Android SDK and emulator system image)
- 1280 x 800 minimum display screen decision
Once you’ve got ensured that your running machine is well matched with3.2.1 or higher, down load the right distribution record. The download web page auto-detected that I’m going for walks a 64-bit Windows operating gadget and selected android-studio-ide-181.5056338-home windows.Exe (927 MB) for me to down load.
Android SDK command-line tools
Android-studio-ide-181.5056338-windows.Exe consists of an installer and the SDK command-line gear. If you don’t need or need to use , you may download simplest theSDK command-line gear.
Installing Android Studio on 64-bit Windows 10
I launched android-studio-ide-181.5056338-windows.Exe to start the set up manner. The installer answered through presenting the Setup conversation field shown in Figure 1.
Clicking Next took me to the following panel, which provides the option to decline installing an Android Virtual Device (AVD).
I chose to hold the default settings. After clicking Next, I changed into taken to the Configuration Settings panel, wherein I became asked to pick where to put in Android Studio.
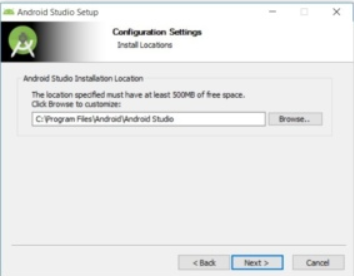
I kept the default installation location and clicked Next, and was greeted with the Choose Start Menu Folder panel.
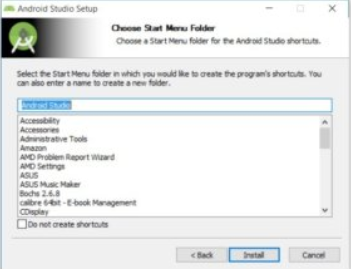
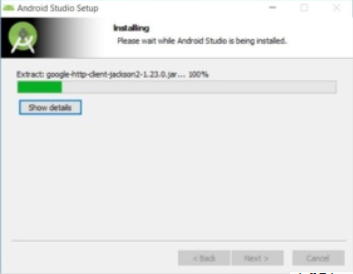
I kept the default setting and clicked Install. The following Installing panel appeared:

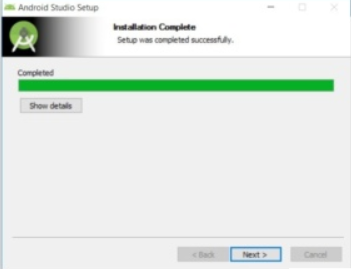
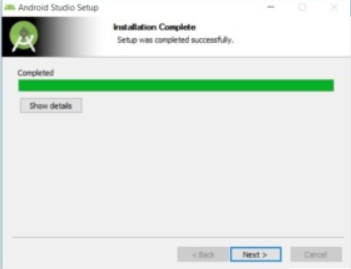
Clicking Show info causes the names of files being mounted and different activities to be displayed. When installation finished, the Installation Complete panel seemed.
After clicking Next, the installer presented the Completing Setup panel.
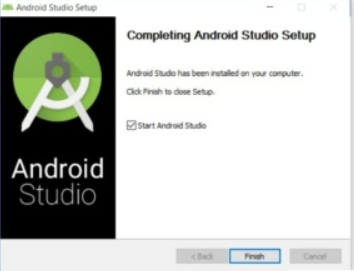
To complete the installation, I left the Start box checked and clicked Finish.
Running Android Studio
The first time runs, it affords a Complete Installation conversation field that offers the choice of uploading settings from a previous set up.
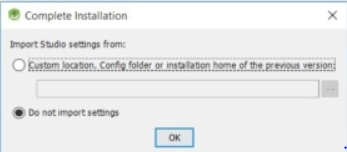
I chose not to import settings (the default selection) and clicked OK, and was rewarded with the following splash screen:

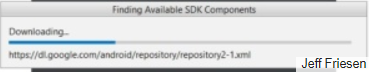
I also observed the following Finding Available SDK Components message box.
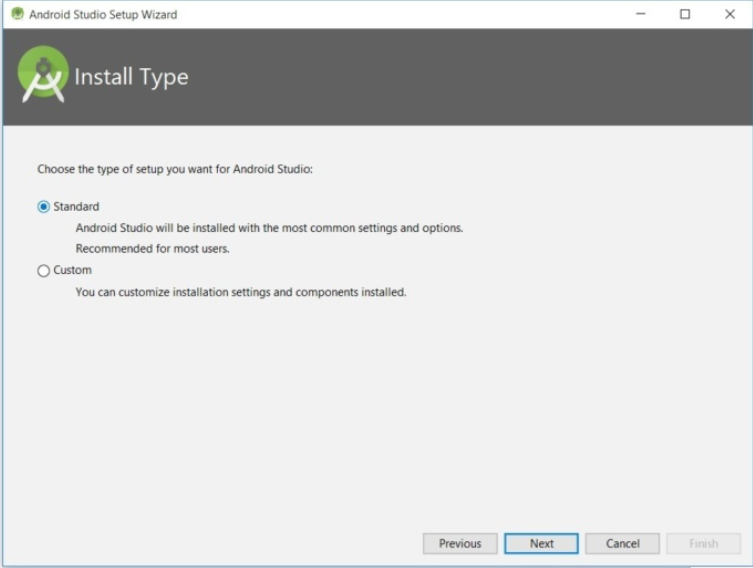
At this point, Android Studio presented the following Setup Wizard dialog box:

wizard invited me to select an installation type.standard setting.
I was then given the opportunity to choose a user interface theme.
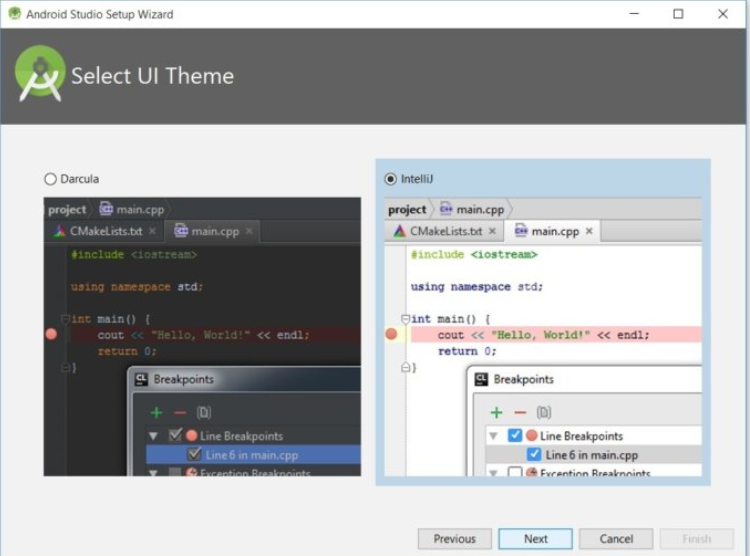
I kept the default IntelliJ setting and clicked Next. Android Studio next provided the opportunity to verify settings.
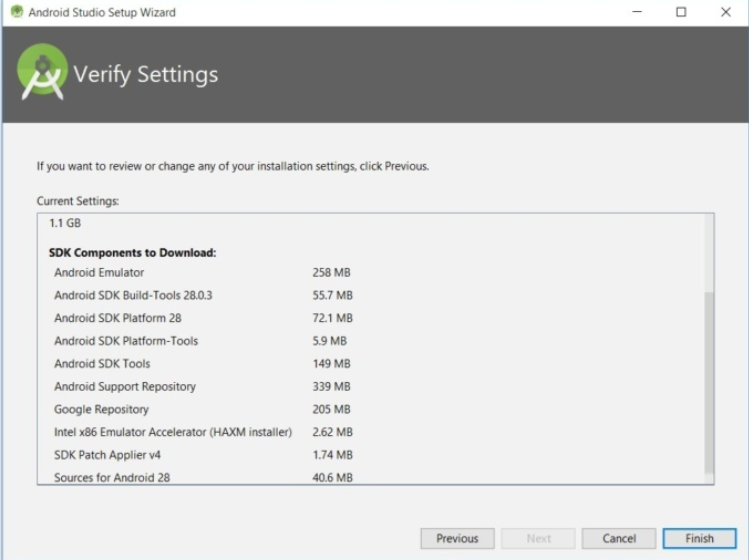
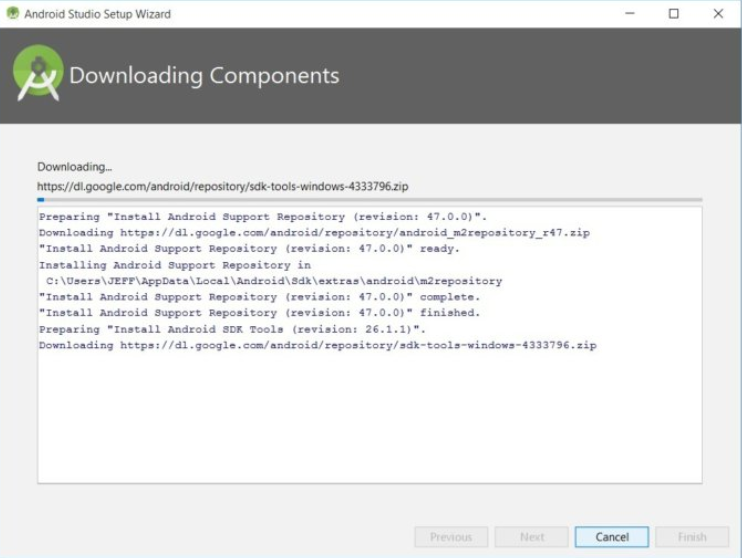
I clicked Finish and began the process of downloading SDK components.
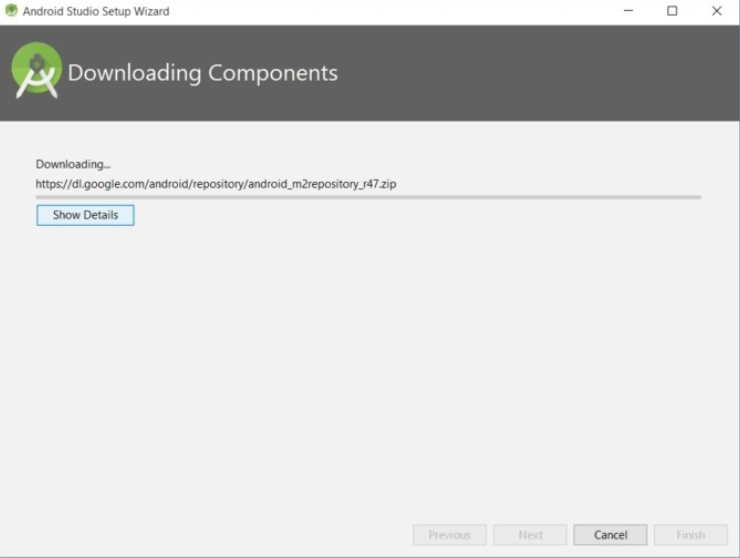
It can take numerous mins for this a part of the setup to complete. Clicking Show Details would possibly relieve some boredom by way of revealing the various documents being downloaded and unzipped.
For my AMD-based computer, an unpleasant surprise awaited after the components had completely downloaded and unzipped:
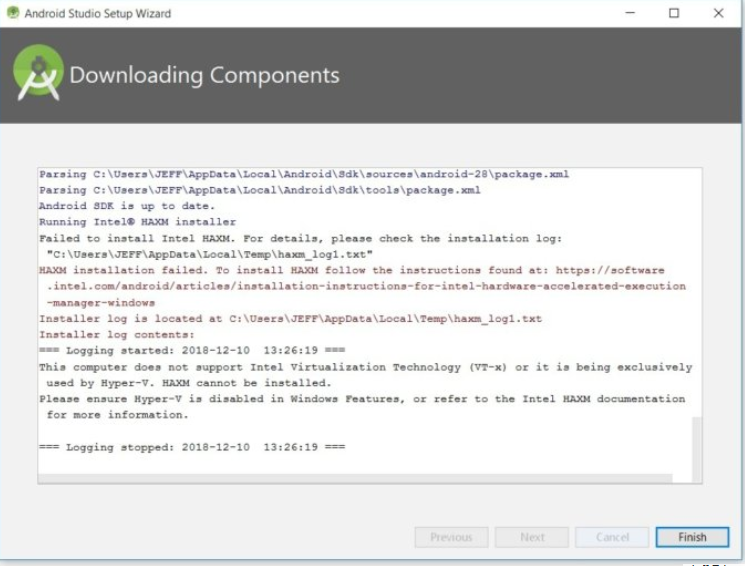
My alternatives are to both positioned up with the gradual emulator or use an Android tool to speed up improvement. In Part 3 I’ll display you the way I resolved this trouble.
Finally, I clicked Finish to complete the wizard. The Welcome to dialog box appeared.
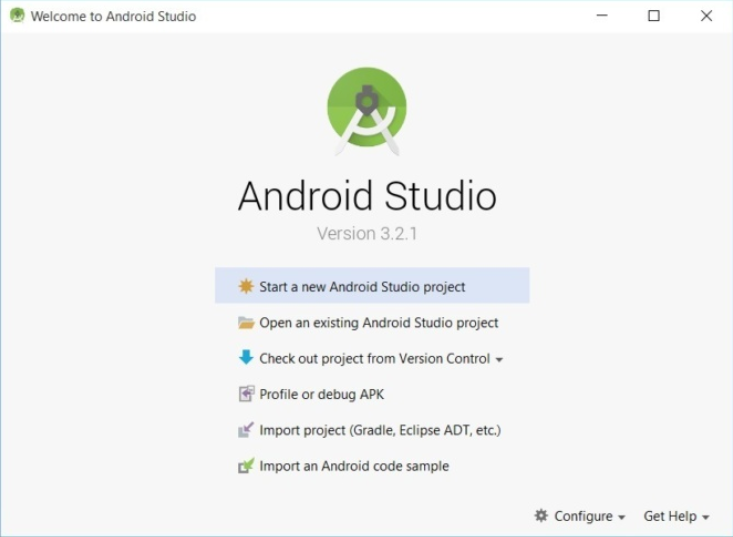
This dialog container is used to start up a new project, work with an present project, and more. It can be accessed by using choosing from the Windows Start menu, or the equivalent on any other platform.
Your first Android Studio mobile app
The quickest manner to get to realize is to apply it to develop an app. We’ll begin with a version on the “Hello, World” application: a touch cell app that presentations a “Welcome to Android” message.
In the stairs that follow, you will start a new project and get to realize the main window, inclusive of the editor window that you may use to code the app in Part 2.
Starting a new project
From our setup to date, you need to nonetheless have Android Studio walking with the Welcome to conversation box. From right here, click on Start a brand new Android Studio project. will reply with the Create New Project dialog box proven in Figure 19.
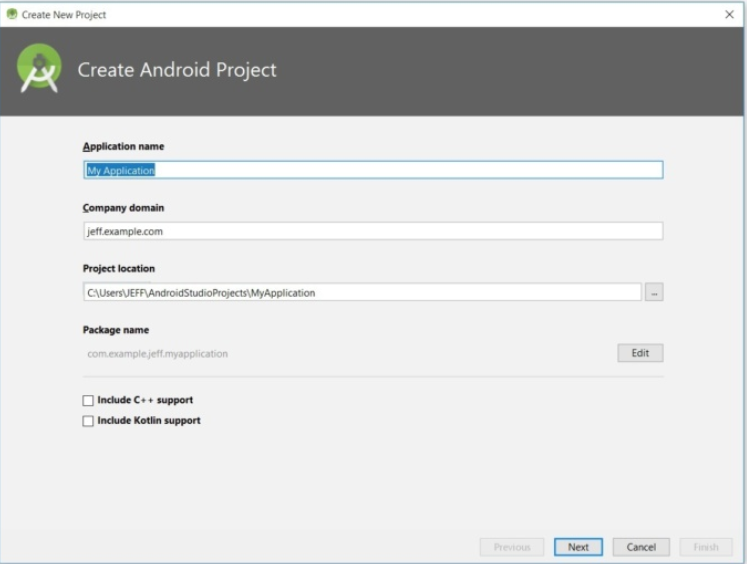
Enter W2A (Welcome to Android) because the utility name and javajeff.Ca because the corporation domain call. On my laptop, I determined C:UsersJEFFAndroidStudioProjectsW2A as the undertaking region. Click Next to pick out your target gadgets.
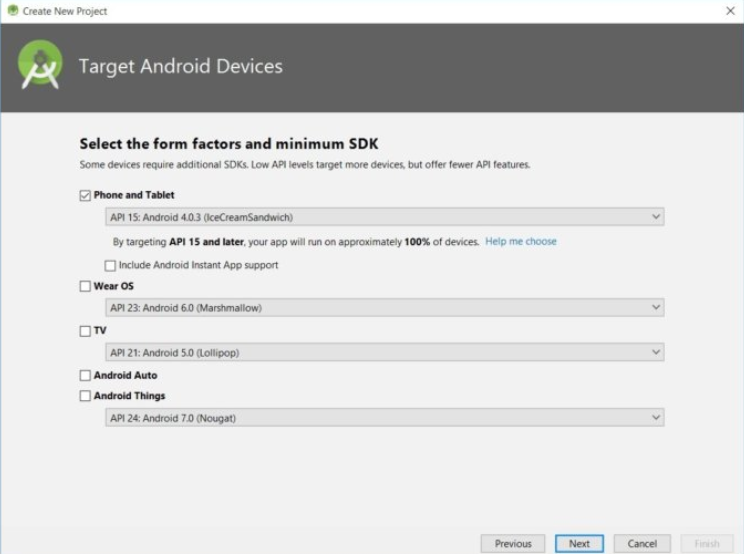
lets you choose form factors, or classes of goal devices, for every app you create. I stored the default setting.
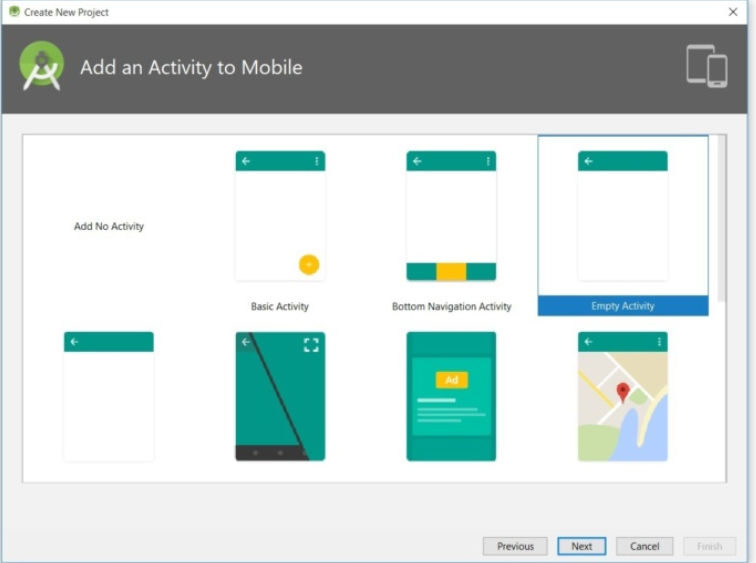
Click Next, and you’ll be given the possibility to pick a template for your app’s major interest. For now we’re going to stay with Empty Activity. Select this template (if important) and click Next.
Next you’ll customize the activity:
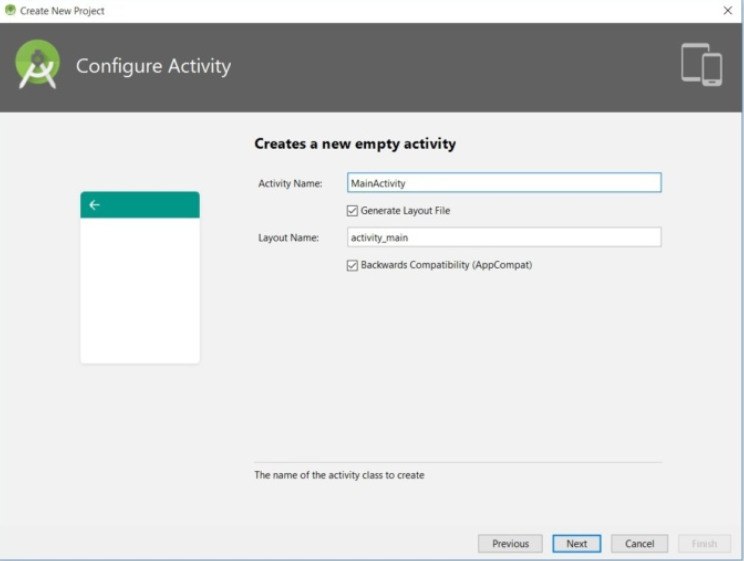
Enter W2A as the activity name and main as the layout name, and click Next to complete this step.
Reconfigured buttons
The next time you create an app for the chosen target device category, you’ll probably discover that Next is disabled and Finish is enabled.
The first time you use Android, you may find out that it has to download some documents associated with its constraint format, that’s used to construct responsive consumer interfaces:
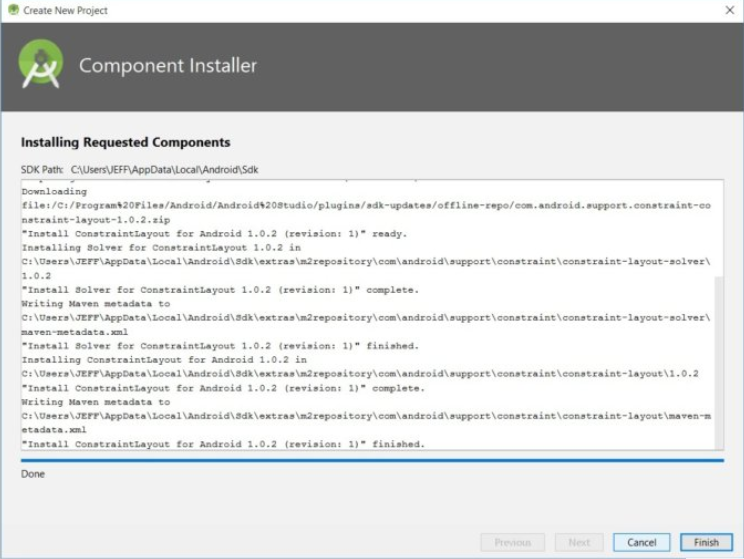
enables Finish after downloading the constraint layout files. Click this button and takes you to the main window.

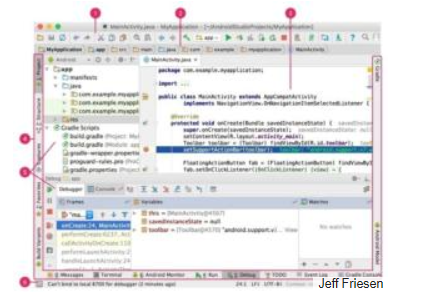
The main window is divided into a menu bar and several other areas, which are identified in Figures 25 and 26. (Note that Figures 25 and 26 are courtesy of
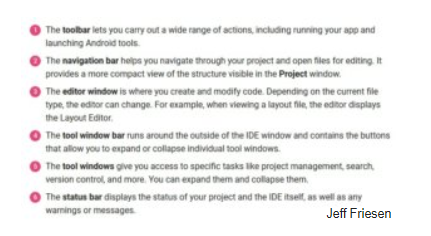
Check out the Meet page to learn more about Studio’s user interface.
Accessing AVD Manager and SDK Manager
To access the traditional AVD Manager or SDK Manager, select AVD Manager or SDK Manager from Android Studio’s Tools menu.
The Project and editor windows
The first time you use, you may find out that it has to download some documents associated with its constraint format, that’s used to construct responsive consumer interfaces:
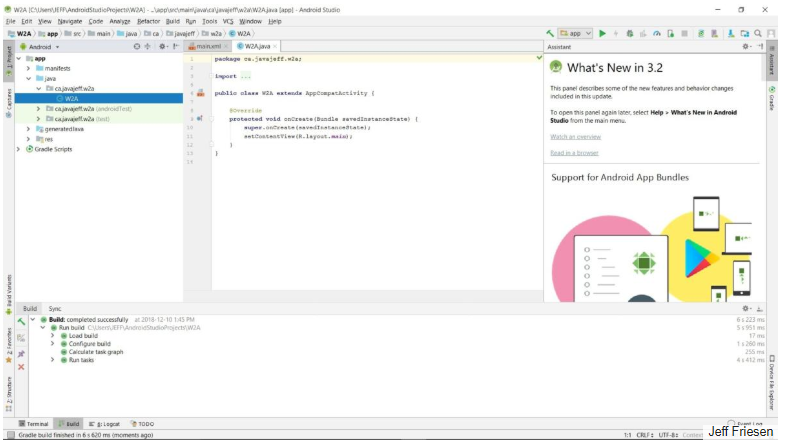
The Project window is prepared into a tree whose foremost branches are app and Gradle Scripts. The app department is in addition organized into manifests, java, generatedJava, and res subbranches:
- Manifests shops AndroidManifest.Xml, that is an XML record that describes the structure of an Android app. This record also facts permission settings (where applicable) and other details about the app.
- Java stores an app’s Java source documents in step with a package deal hierarchy, that’s ca.Javajeff.W2a in this case. It additionally organizes files for checking out functions.
- Res shops an app’s aid documents, which are prepared into drawable, layout, mipmap, and values subbranches:
- drawable is a ordinarily empty location wherein to shop an app’s paintings; initially, the XML files for the launcher foreground and background adaptive icons are stored right here.
- Layout is a location containing an app’s format documents; fundamental.Xml (the main interest’s format report) is initially stored here.
- Mipmap is a vicinity containing numerous ic_launcher.Png files, which shop launcher display screen icons of different resolutions.
- Values is a area containing colors.Xml, strings.Xml, and styles.Xml.
The Gradle Scripts department identifies numerous .Gradle (including construct.Gradle) and .Homes (inclusive of nearby.Residences) files which are used by Android Studio’s Gradle-based build gadget.
Branch names and directory/file names
Each branch/subbranch corresponds to a directory name or to a file name. For instance, res corresponds to the res listing and strings.Xml corresponds to the strings.Xml document.
Conclusion to Part 1
You’ve mounted and configured and created a task in your first cellular app; now you’re geared up to build your Android software. this indicates populating your new undertaking with Java source code and useful resource documents. Turn to Part 2 while you’re geared up to code your first Android animated cellular app.